Many custom home buyers in the Tri-Cities, TN eventually become interested in home additions such as an attached greenhouse. Some are built with precision and last a lifetime. Others are built on a whim and start to leak within a year. When we talk about building an attached greenhouse in the Tri-Cities area, we are discussing a project that requires a high level of technical skill. This is not just a glass box you stick on the side of your house. It is a complex structure that must handle our humid summers, our wet springs, and our freezing winters.
Building a true four-season attached greenhouse is a significant investment. It involves more than just buying windows. You have to think about the foundation, the heating system, the ventilation, and how the structure connects to your existing home.
Many people get excited about the idea of growing plants year-round. They imagine a warm, sunny oasis in the middle of January. That is a wonderful dream, and it is entirely possible to achieve. However, making that dream a reality requires careful planning and a realistic budget. If you cut corners on an attached greenhouse, you will end up with a room that is too hot in the summer, too cold in the winter, and full of condensation.
In this article, I am going to walk you through the real costs and technical requirements of adding an attached greenhouse to your home in 2025. We will look at the specific challenges we face here in East Tennessee, from our red clay soil to our local building codes. My goal is to give you the precise information you need to make a smart decision. Let’s look at the numbers and the engineering behind a successful build.
Video Version of this Article
2026 Cost Breakdown: What to Expect to Pay
When you start looking at the price tag for an attached greenhouse, you might see a wide range of numbers online. National averages often quote prices between $25,000 and $80,000. While these numbers can give you a rough idea, they often do not reflect the reality of building a high-quality structure in our current market.
In the Tri-Cities area, including Johnson City, Kingsport, and Bristol, we have seen labor and material costs shift significantly over the last few years. For a custom, four-season attached greenhouse that is built to last, you should expect to pay between $90 and $120 per square foot. This price can go higher if you choose luxury finishes or complex automation systems.
You might wonder why the cost is higher than a standard room addition. The answer lies in the materials. An attached greenhouse requires specialized glazing, or glass, that provides insulation. It requires a frame that can handle thermal expansion. It also requires a dedicated HVAC system to control the climate.
We also have to consider the difference between a sunroom and a greenhouse. A sunroom is designed for people. It often has carpet or wood floors and standard drywall. A greenhouse is designed for plants. It needs floors that can handle water, drains in the floor, and humidity controls. These features add to the cost.
When you invest in an attached greenhouse, you are not just paying for the structure. You are paying for the expertise required to integrate it with your home. You are paying for a waterproof connection that prevents rot. You are paying for a foundation that won’t crack when our clay soil freezes and thaws.
It is important to view this cost as an investment in your home and your lifestyle. A well-built attached greenhouse adds usable square footage to your house. It provides a unique space that connects you with nature. However, for it to add value to your property, it must be built correctly. A cheap, poorly constructed kit can actually lower your home’s value. A custom build that matches your home’s architecture is a different story.
Major Cost Factors
There are three main areas that will drive the budget of your attached greenhouse project. Understanding these factors will help you make informed choices and keep your costs under control.
1. Glazing: Glass vs. Polycarbonate
The clear material that lets light in is called glazing. This is the most critical part of your attached greenhouse. In the past, people used single-pane glass. That is a mistake in Tennessee. Single-pane glass has almost no insulation value. In the winter, the heat will escape instantly. In the summer, your greenhouse will become an oven.
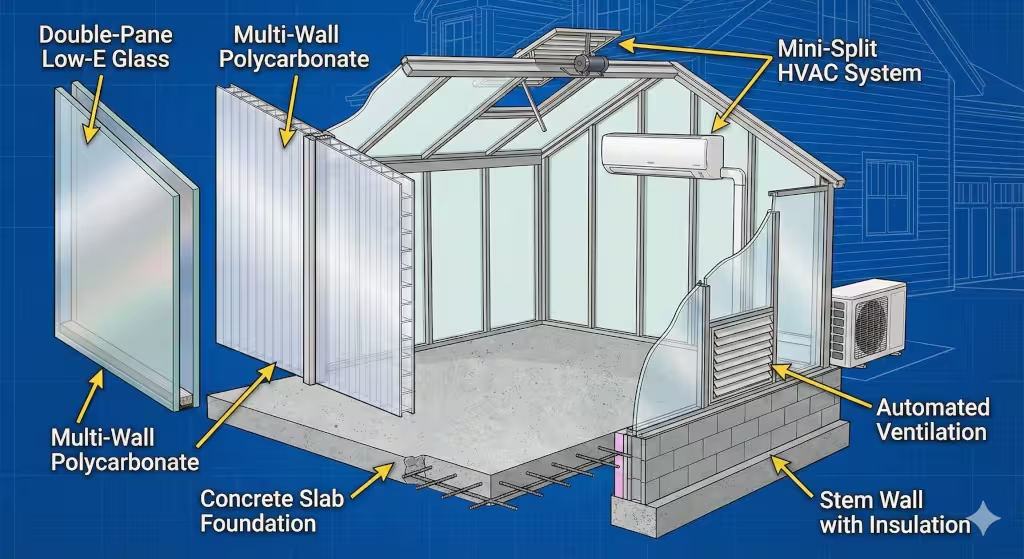
For a four-season attached greenhouse, you have two main choices: double-pane Low-E glass or multi-wall polycarbonate.
Double-pane Low-E glass is the gold standard. It looks like standard home windows. It is clear, durable, and easy to clean. The “Low-E” coating helps reflect heat. This keeps the warmth inside during winter and reflects the hot sun away during summer. This is the most expensive option, but it offers the best view and the highest home value.
Multi-wall polycarbonate is a plastic material. It is tough and lightweight. It comes in layers, like cardboard. These layers create air pockets that provide insulation. Polycarbonate is cheaper than glass and diffuses the light, which prevents plants from getting burned. However, it is not perfectly clear. You cannot see through it like a window. It can also scratch over time.
For an attached greenhouse that opens into your living room or kitchen, I almost always recommend glass. It feels more like a part of the home. If the greenhouse is more of a utility space, polycarbonate can save you money.
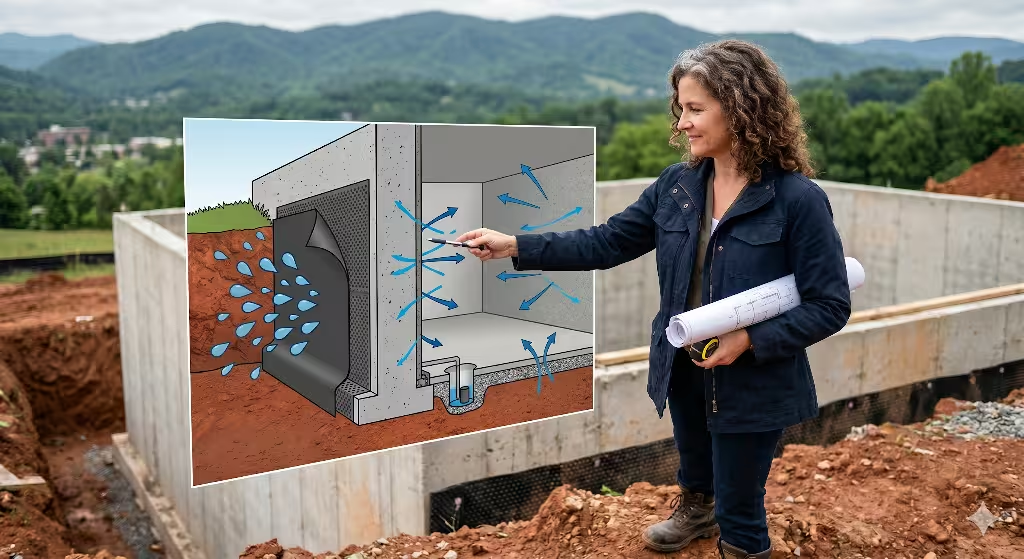
2. Foundation Type
Here in East Tennessee, we build on red clay. This soil holds water and moves around a lot. If your foundation is not solid, your attached greenhouse will shift. This can cause the glass to crack and the doors to stick.
You generally have two options for the foundation. The first is a concrete slab. This is a solid sheet of concrete poured on the ground. It is great for a greenhouse because concrete holds heat. During the day, the sun warms the floor. At night, the floor releases that heat back into the room. This is called thermal mass. A slab is also easy to clean and can handle water spills.
The second option is a stem wall foundation. This involves digging a trench and pouring a concrete footer below the frost line. Then, we build a short wall of block or brick up to the floor level. This lifts the glass up off the ground. A stem wall can match the brick or stone on your existing house. This makes the attached greenhouse look like it was always there.
The cost of the foundation will depend on the slope of your yard. If your yard is flat, a slab is cheaper. If your yard has a steep hill, which is common in our area, you might need a taller stem wall or retaining walls. This involves more excavation and more concrete, which raises the price.
3. HVAC and Climate Control
A true four-season attached greenhouse must be comfortable in January and July. You cannot rely on the sun alone to heat the space in winter. You also cannot rely on opening a window to cool it in summer.
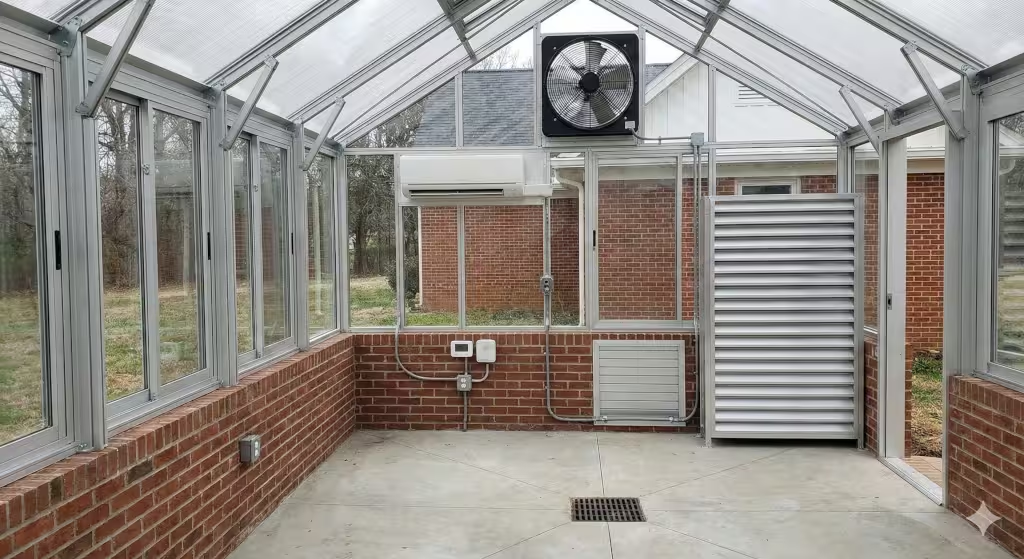
You will need a dedicated heating and cooling source. The most efficient option for an attached greenhouse is a mini-split heat pump. These are the units you see mounted on the wall. They are very quiet and energy-efficient. They can provide both heating and cooling.
You might be tempted to just extend the ductwork from your main house furnace into the greenhouse. As an expert, I advise against this. The temperature and humidity needs of a greenhouse are very different from your living room. A greenhouse can get very humid. You do not want to pull that humid air back into your main house HVAC system. It can cause mold issues in your ductwork.
Ventilation is also a cost factor. Even in winter, a sunny day can make a greenhouse too hot. You need automated vents in the roof that open when the temperature rises. You also need intake shutters low to the ground to let cool air in. These systems require motors, thermostats, and wiring.
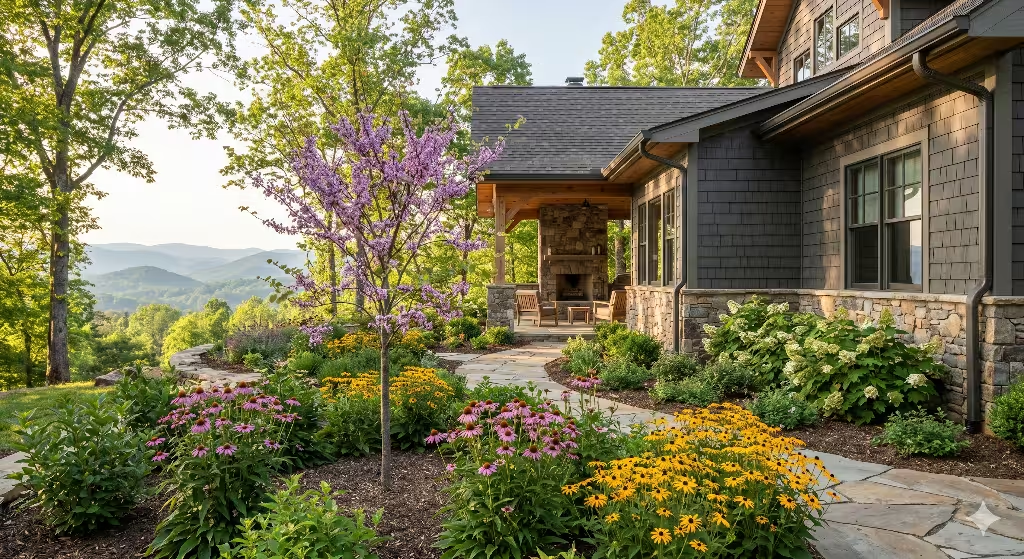
Design Trends: Biophilic Design in the Tri-Cities
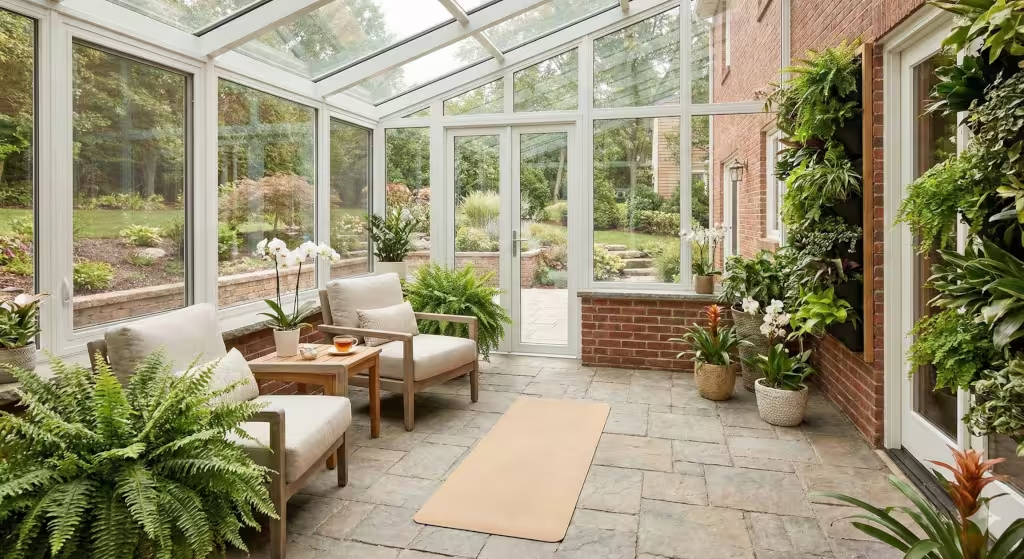
In 2026, we are seeing a shift in how people view their homes. The trend is called biophilic design. This is a fancy way of saying that humans have a natural desire to be close to nature. An attached greenhouse is the ultimate expression of this trend.
Homeowners in Johnson City and Kingsport are moving away from sterile, white rooms. They want spaces that feel alive. They want to drink their morning coffee surrounded by ferns and orchids. They want to grow their own herbs and vegetables year-round.
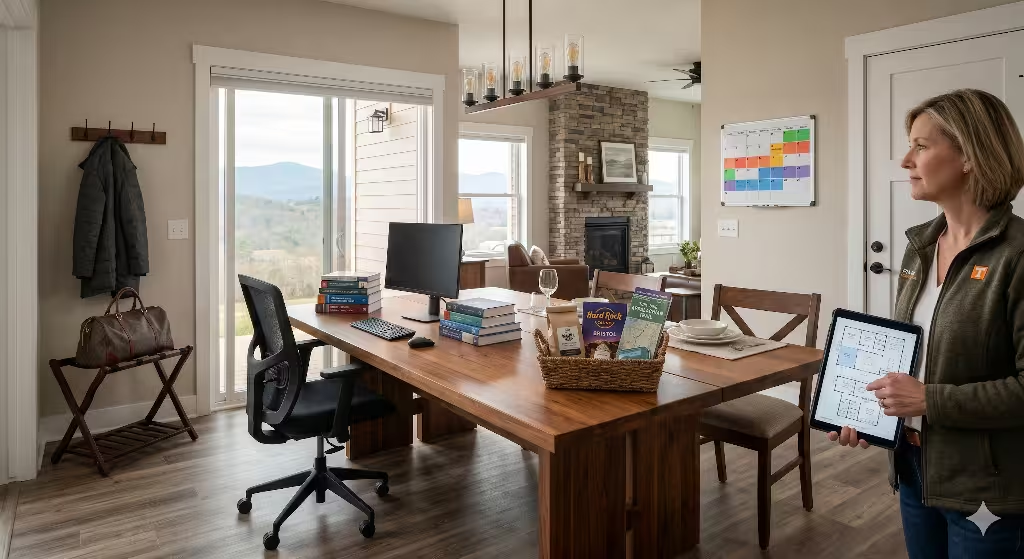
The design of the attached greenhouse is becoming more sophisticated. We are seeing a move towards “wellness retreats.” This is a space that is not just for plants, but for people too. It might have a small seating area, a yoga mat, or a reading chair.
To make this work, the aesthetic integration is key. The attached greenhouse should not look like a spaceship landed in your yard. It should blend in. We use materials that match the main house. If you have a brick home, we use a brick knee wall for the greenhouse. If you have vinyl siding, we can match the color on the trim.
We are also seeing a rise in functional design elements like hydroponics and vertical gardening. Hydroponics allow you to grow plants without soil.6 This is cleaner and often faster. Vertical gardening uses the walls of the attached greenhouse to grow plants up, rather than out. This saves floor space and creates a wall of green that looks stunning.
Native plants are also popular. While a greenhouse allows you to grow tropical plants, many people are using them to overwinter local species. You can keep your ferns and citrus trees safe during the frost and then move them back outside in the spring.
The Hidden Gotchas: Permits and Legalities
One of the biggest mistakes I see homeowners make is ignoring the legal side of building. In cities like Johnson City and Kingsport, you cannot just build whatever you want. There are rules, and breaking them can be expensive.
Every attached greenhouse requires a building permit. The city wants to know that the structure is safe. They will review your plans to ensure the framing is strong enough and the foundation is deep enough.
Zoning laws are another hurdle. Every property has setbacks. This is the distance you must keep between your building and your property line. If you build your attached greenhouse too close to your neighbor’s fence, the city can make you tear it down. I always tell my clients: do not pour a footer until you have verified the setbacks.
There is also the “in-fill” problem. This is a technical issue that arises when you attach a new structure to an existing one. We have to be very careful about how the greenhouse roof meets your house roof. If this connection is not flashed correctly, water will get in. It will rot the wood behind your siding.
We often need a structural engineer to review the plans. They check the snow load ratings. In Tennessee, we get wet, heavy snow. The roof of your attached greenhouse must be able to support that weight without collapsing. A cheap kit from the internet is often not rated for our snow loads.
Finally, you need to think about taxes. An attached greenhouse adds square footage to your home. This will likely increase your property tax assessment. However, it also increases the resale value of your home. A detached greenhouse in the backyard might be considered an agricultural outbuilding, which is taxed differently. It is worth checking with your local tax assessor.
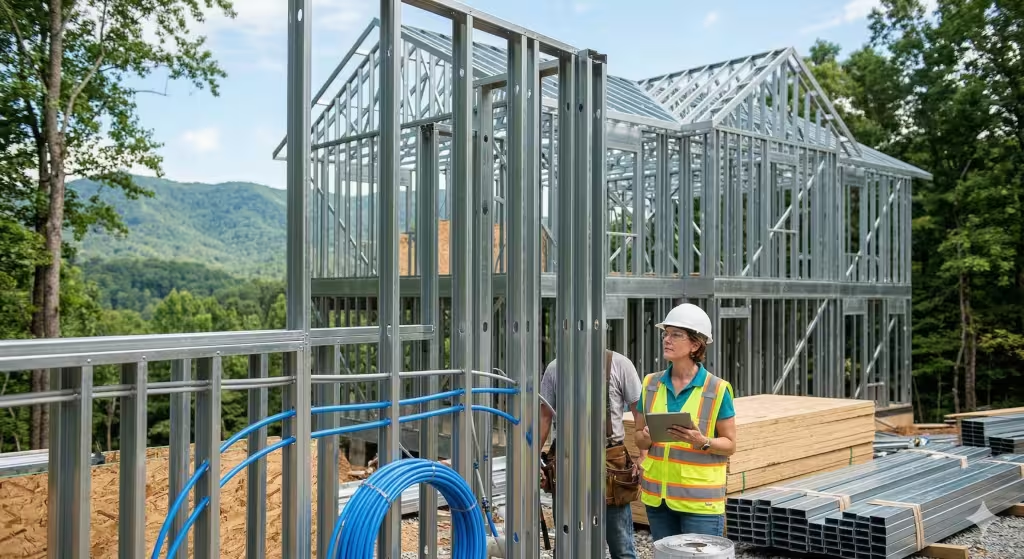
Technical Specs: Building for the Tennessee Climate
Building an attached greenhouse in Tennessee requires specific technical details to handle our climate. We have high humidity, hot summers, and freeze-thaw cycles in winter.
Insulation is not just about the glass. The frame itself needs to be insulated. If you use a standard aluminum frame, it will conduct cold. In the winter, the metal inside the room will be freezing. The warm, moist air in the greenhouse will hit that cold metal and turn into water. This is called condensation. It will drip on your plants and your floor.
To prevent this, we use “thermally broken” frames. These frames have a barrier of rubber or plastic sandwiched between the inner and outer metal. This stops the cold from transferring to the inside. It keeps the frame warm and prevents sweating.
Ventilation strategy is critical. We use the “Chimney Effect” to cool the space. Hot air rises. We place vents at the very peak of the roof. When these open, the hot air escapes. We place intake vents low on the wall. As the hot air leaves the top, it pulls cool air in from the bottom. This creates a natural breeze that cools the plants.
We also use exhaust fans. These are electric fans that pull air out of the room. They are controlled by a thermostat. When the attached greenhouse gets too hot, the fan kicks on. This is essential for those still, humid days in July when there is no breeze.
Orientation is the direction your greenhouse faces. South is usually the best for year-round sun. However, in Kingsport, a pure South orientation can get very hot. A Southeast orientation is often better. It catches the morning sun, which plants love, but it avoids the harsh, scorching sun of the late afternoon. If you only have a West-facing wall, we will need to invest heavily in shade cloths and cooling systems.
Commonly Asked Questions about Greenhouses
In my conversations with clients, certain questions come up again and again. Here are the honest answers to the most common queries about the attached greenhouse.
Can I heat my attached greenhouse with my home furnace?
No, you should not do this. Building codes usually forbid connecting a space with soil and chemicals to your living space ductwork. You do not want fertilizer dust or mold spores circulating in your bedrooms. Also, the thermostat in your hallway does not know what the temperature is in the greenhouse. You need a separate system like a mini-split.
Is a greenhouse cheaper than a sunroom?
Surprisingly, a proper greenhouse can be more expensive than a sunroom. A sunroom is just a room with windows. An attached greenhouse is a machine for growing. It needs water spigots, floor drains, humidity sensors, and specialized glazing. The plumbing and technical systems add to the cost. However, the result is a much more versatile space.
Does an attached greenhouse increase home value?
Yes, if it is done right. A custom attached greenhouse that matches the architecture is a high-value asset. It adds “wow” factor. However, if it looks like a cheap lean-to that was tacked on, it will hurt your resale value. Buyers will see it as a maintenance headache. Quality is the key to ROI.
What is the best flooring for a greenhouse?
I recommend concrete or pavers. You want a floor that can get wet. You will be watering plants, and you might spill soil. Concrete is easy to sweep and hose down. It also provides that thermal mass I mentioned earlier. Stay away from wood or laminate. The humidity will warp them in no time.
DIY Kits vs. Custom Build: A Professional’s Verdict
I am often asked if it is better to buy a kit online or hire a builder. There are many kits available for $5,000 to $10,000. They look great in the pictures.
Here is the reality. Most kits are designed for mild climates. They use thin polycarbonate and lightweight aluminum. When we get a heavy snow in January, or a severe thunderstorm in April, these kits can fail. I have seen kit greenhouses collapse under snow load. I have seen panels blow out in high winds.
Furthermore, a kit is hard to attach to your house properly. It is difficult to get a watertight seal. You often end up with leaks at the roofline.
A custom build is a larger upfront investment. It might cost three or four times as much as a kit. But you are paying for structural integrity. You are getting a permanent addition to your home. It will have a proper foundation, a thermally broken frame, and high-quality glass. It will be wired to code and plumbed correctly.
If you are just experimenting with gardening, a small, detached kit in the yard is fine. But if you want a true four-season attached greenhouse that adds value to your home and joy to your life, a custom build is the only path that makes sense.
Conclusion
Building an attached greenhouse is a journey. It requires a balance of dreams and practicalities. We have covered the costs, the technical specs, and the legal hurdles.
In short, you need a plan that accounts for the Tri-Cities climate. You need a budget that is realistic about the costs of materials and labor. And you need a builder who will do the job right, even the parts you can’t see.
If you are ready to move forward, start with the basics. Look at your property. Check the sun exposure. Think about how you will use the space. And most importantly, do not rush the design phase. A well-planned attached greenhouse will provide decades of happiness.
One final technical tip before I go: Plan your water source before you pour the slab. It is much cheaper to run a water line under the concrete before it is poured than to try and add it later. A frost-free hydrant inside your greenhouse is a game-changer.