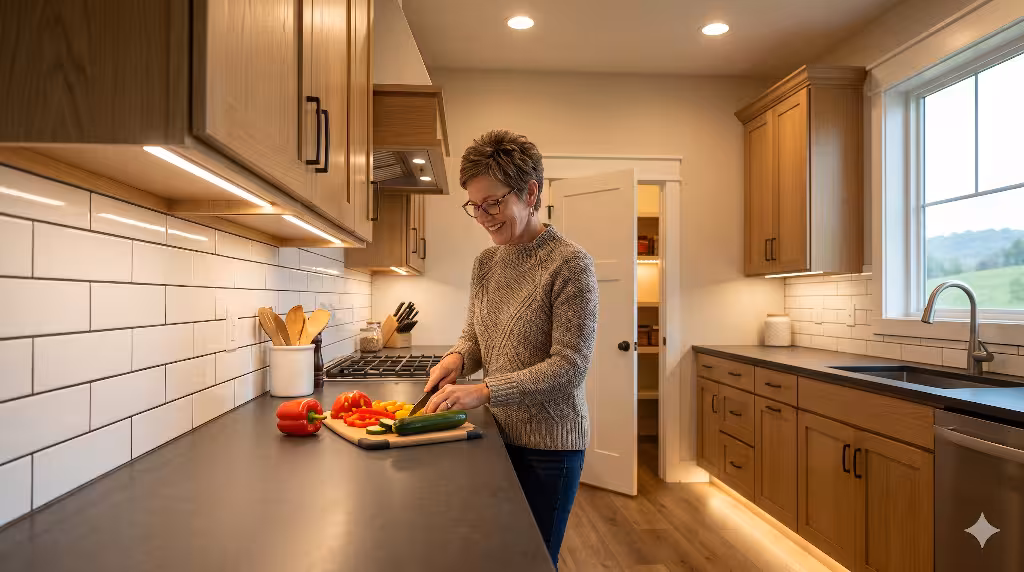
There’s a unique appeal to Jonesborough, a sense of history that is a part of the rolling hills and charming streets of Tennessee’s oldest town. For many, the ultimate dream isn’t just to live here, but to create something truly personal: a custom home built on their own piece of land. The idea of choosing your view, designing a layout that fits your family perfectly, and watching it all come together from the ground up is a powerful one. However, turning that dream into a reality involves a detailed, methodical process. It’s a journey that can feel overwhelming without a clear map.
The goal of this post with this guide is to give you that map, more specifically for Jonesborough. This post is for anyone who owns or is considering buying land in or around Jonesborough with the intention to build. I will break down the entire “build on your land” process, step by step, using my experience as an engineer and a builder. We’ll move from the crucial first steps of evaluating your land to the final moment you receive the keys to your new home. The approach is based on competence and precision, ensuring you have the knowledge to navigate this rewarding experience with confidence.
The Pre-Construction Phase: Due Diligence is Non-Negotiable
Before a single shovel of dirt is turned, the most important work happens. This is the due diligence phase, where you investigate every aspect of your land to ensure it is suitable for the home you envision. Skipping or rushing these steps is the single biggest mistake I see people make. Proper research on your chosen parcel of land saves you from immense headaches and unexpected costs down the road.
Land Evaluation & Feasibility Study
Simply owning a piece of land doesn’t automatically mean you can build whatever you want on it. A thorough feasibility study uncovers the potential and limitations of your specific land.
First, you must investigate zoning and any existing covenants. The Jonesborough Planning Commission and the Washington County Planning Department have regulations that dictate what can be built, how large it can be, and how far it must be set back from property lines. If your land is in a subdivision, there may be an additional layer of rules, called covenants or restrictions, that control things like home size, exterior materials, and even fence types. It’s your responsibility to know these rules before you design a home that might violate them. A good builder can help you research the specific requirements for your land.
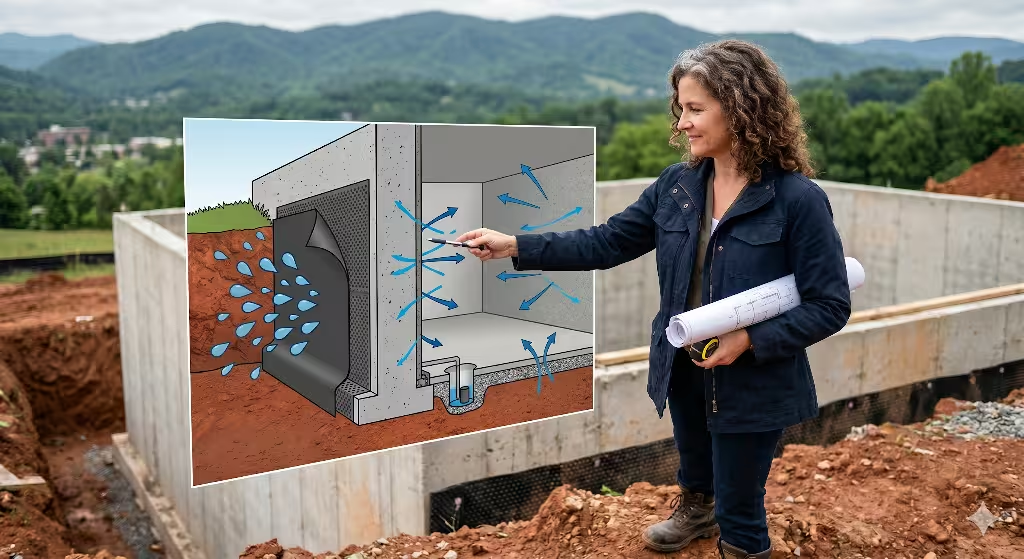
Next comes the physical evaluation of the land itself. The topography, or the slope and contours of the land, will heavily influence your site prep costs and foundation type. A steeply sloped piece of land might offer a great view but will cost significantly more to build on than a flat lot. We also need to understand what’s beneath the surface. A soil test, often called a geotechnical survey, tells us about the stability of the ground. This information is critical for designing a foundation that will not shift or settle over time.
For any piece of land outside the town’s sewer service area, a percolation test, or “perc test,” is non-negotiable. This test measures how quickly water drains through the soil. The results determine if the land is suitable for a septic system and, if so, what size and type of system the Tennessee Department of Environment and Conservation (TDEC) will approve. A failed perc test can mean the land is unbuildable without access to a public sewer, a fact you must know before you invest further.
Finally, we must confirm access to utilities, a major factor in the total cost of developing your land. You need to know where the nearest hookups are and how much it will cost to extend them to your build site. In our area, BrightRidge is the main electricity provider. You’ll need to contact them to get an estimate for running power to your homesite on the land. For water, is the Jonesborough Water Department accessible, or will you need to drill a well? If you need a well, you must factor in the cost of drilling and the pump system. The same logic applies to natural gas, often supplied by Atmos Energy. Don’t forget modern utilities like high-speed internet. Confirm which providers service your specific parcel of land. The cost of bringing these services across a large piece of land can be substantial and must be included in your budget.
Assembling Your Professional Team
You cannot build a house alone. The quality of your home is directly related to the quality of the team you assemble. Your first and most important hire is a reputable, licensed, and insured builder or general contractor. Look for a builder with specific experience in Washington County. They will be familiar with the local codes, the permitting process, and the best local subcontractors. Check their references, visit their previous projects, and make sure their communication style fits with yours. This is a long-term relationship, and trust is essential.
Next, you’ll need an architect or a home designer. Some people purchase pre-made “stock” plans online, which can be a cost-effective option. Others prefer to hire an architect to design a completely custom home tailored to their family and their specific piece of land. A good design will take advantage of your land’s best features, like views and natural light. Your builder can often recommend designers they have worked with successfully in the past.
You will also need a licensed surveyor. A surveyor will create a detailed map, or plat, of your land. This document officially marks your property lines and shows the precise locations for the house, driveway, well, and septic system. This plat is a required document for obtaining a building permit. Lastly, it’s wise to have a real estate attorney review all your contracts, from the builder’s agreement to the loan documents. They ensure your interests are protected throughout the process.
Financing Your Custom Home Build
Financing a new construction project is different from getting a standard mortgage for an existing house. You will most likely need a construction loan. These are short-term loans that cover the cost of building the home on your land. Instead of giving you all the money at once, the bank releases funds in stages, known as “draws,” as construction milestones are completed. For example, a draw might be released after the foundation is poured, another after the home is framed, and so on.
We strongly recommend working with local banks or credit unions in the Tri-Cities area. They are often more familiar with the local market, the value of land in the area, and the builders you might be working with. They understand the nuances of the construction process here.
When creating your budget, you must think beyond the price of the house itself. The total project cost includes everything. This means the cost of the land (if you’re just buying it), site preparation, utility hookups, landscaping, permit fees, and loan fees. A crucial part of any construction budget is a contingency fund. I always advise my clients to set aside an extra 10% to 15% of the total cost to cover unexpected issues. You might hit rock when digging the foundation on your land, or a material price might increase suddenly. A contingency fund turns a potential crisis into a manageable problem. It’s the most important safety net you can have when developing your land.
The Design & Permitting Phase: From Blueprint to Breaking Ground
With your team in place and financing secured, you can move into the exciting phase of finalizing the details and getting official permission to build. This stage transforms your ideas into a concrete plan and a legal permit.
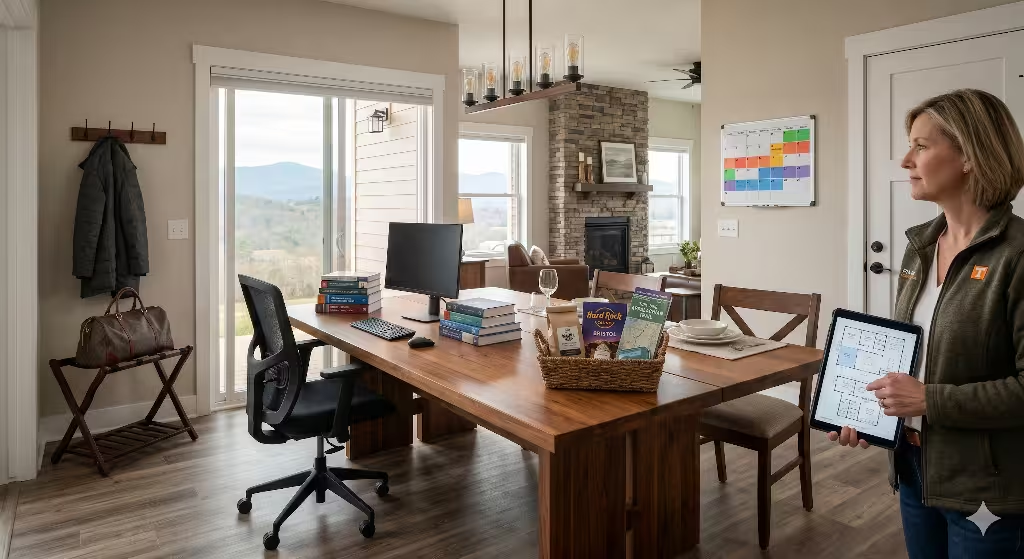
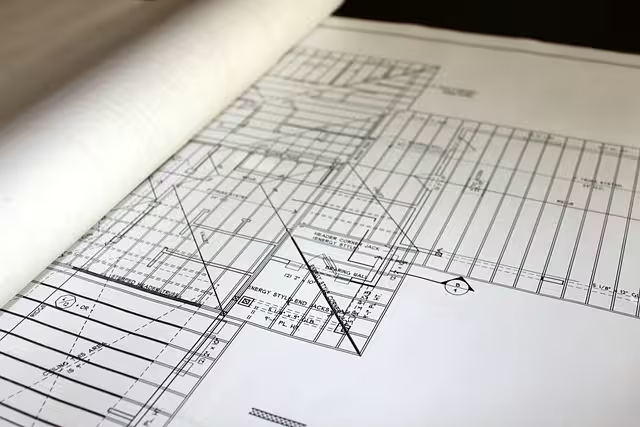
Finalizing Your Home Plans
This is where you and your designer will refine the blueprints for your new home. You’ll work with your builder to ensure the design is not only beautiful but also practical and within your budget. This is the time to make final decisions on everything from the number of electrical outlets in the kitchen to the type of windows you want. Every decision affects the cost. Changing your mind after construction has started is much more expensive than making a firm decision on paper beforehand. Once the blueprints are complete and you have signed off on them, they become the official construction documents that will be submitted for permits and used by every subcontractor on the job.
The Permitting Gauntlet in Jonesborough
Before you can legally break ground on your land, you must obtain a building permit from the Jonesborough Building Inspector’s Office or the relevant Washington County office if your land is outside town limits. The permitting process is not about creating red tape; it’s about ensuring your home is built to current safety standards.
To apply for the permit, you will need to submit a full package of documents. This typically includes multiple copies of your final blueprints, the site plan from your surveyor showing where the house will sit on the land, proof of TDEC approval for your septic system (if applicable), and sometimes engineering calculations for your foundation or roof structure.
The building department will review your plans to make sure they comply with all local and state building codes. This includes structural safety, fire safety, electrical codes, and plumbing codes. This review process can take several weeks, so it’s important to submit your application well in advance of your desired start date. A builder experienced in the area will know exactly what the permit office needs, which can help streamline the process. Once your plans are approved, you will be issued a building permit, which must be displayed at the construction site on your land throughout the entire build.
The Construction Phase: Watching Your Vision Take Shape
This is the phase where all the planning pays off, and you see your home rise from the land. The construction process follows a logical sequence of events, managed carefully by your general contractor.
Step 1: Site Preparation & Foundation
The first physical work on your land involves preparing the site. Crews will clear trees and vegetation from the build area, and excavators will grade the land to create a level spot for the house and to ensure proper water drainage away from the future structure. The shape and slope of your land will dictate how much work is needed here.
Next, they will dig for the foundation. This could be a simple trench for a slab-on-grade foundation, a deeper excavation for a crawlspace, or a full excavation for a basement. Footers are then poured, which are concrete supports that anchor the house to the ground. After a foundation inspection, the foundation walls are built, and the slab is poured. Your house now has its footprint on the land.
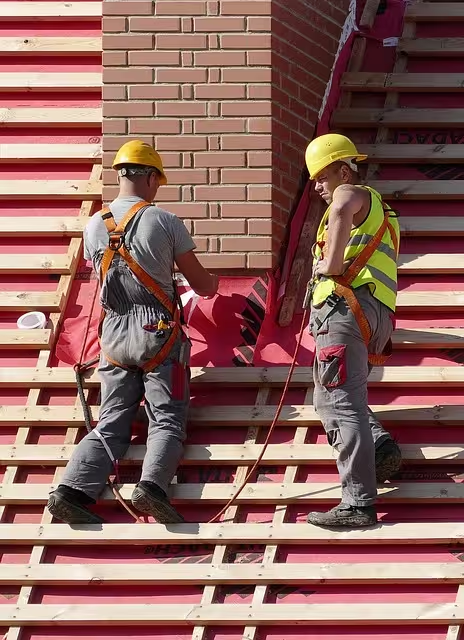
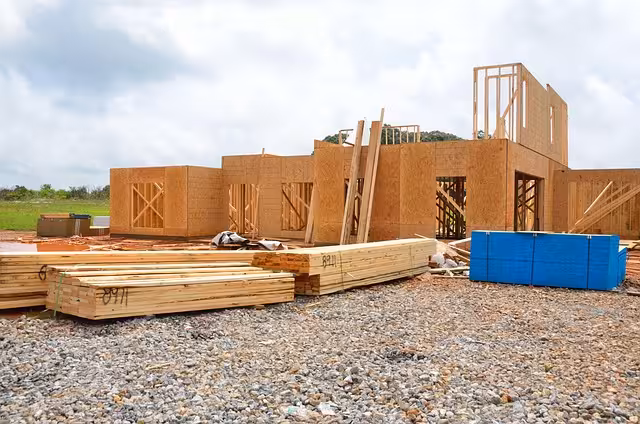
Step 2: Framing & “Drying In”
This is one of the most exciting stages, as the skeleton of your home goes up quickly. The framing crew will build the floor system, walls, and then set the roof trusses. You’ll see your floor plan come to life in three dimensions. Once the basic structure is up, it’s covered in sheathing, a type of plywood or OSB board that adds strength.
The next goal is to “dry in” the house as quickly as possible to protect the new lumber from the weather. This involves installing the roofing material, windows, and exterior doors. With the house dried in, interior work can begin regardless of what the weather is doing outside.
Step 3: Rough-in Mechanicals
With the framing complete, it’s time to install the “guts” of the home. This is the rough-in stage for plumbing, electrical, and HVAC (Heating, Ventilation, and Air Conditioning). Plumbers will run all the supply and drain lines through the walls and floors. Electricians will place the boxes for outlets, switches, and fixtures and run all the wiring back to the panel location. The HVAC crew will install the ductwork for your heating and cooling system, along with any ventilation lines for bathrooms and the kitchen. This work is all done “in the rough,” meaning the final fixtures are not installed yet. This phase requires multiple inspections from the city or county to ensure all the work is done correctly and to code before it gets covered by drywall.
Step 4: Insulation & Drywall
After the rough-in inspections are passed, insulation is installed in all the exterior walls, the attic, and any other required areas. Proper insulation is key to an energy-efficient home that is comfortable and affordable to heat and cool. Once the insulation is inspected, the drywall crew comes in. They hang large sheets of drywall, then tape and mud the seams to create smooth, flat walls and ceilings ready for paint. This stage dramatically changes the feel of the interior, turning open framing into defined rooms.
Step-5: Exterior & Interior Finishes
Now the personality of your home begins to show. On the outside, the siding, brick, stone, or stucco is installed. The trim around the windows and eaves is put up, and the house gets its first coat of paint.
Inside, the finish carpenters will install interior doors, window sills, baseboards, and any crown molding or custom cabinetry. Painters will prime and paint the interior walls. Flooring is installed, whether it’s hardwood, tile, or carpet. In the kitchen and bathrooms, cabinets and countertops are set in place. This is a busy phase with many different trades working to bring all the design details to life.
Step 6: Final Mechanicals & Fixtures
This step is often called the “trim-out” phase. The electricians return to install all the light fixtures, outlets, switches, and cover plates. The plumbers come back to set the toilets, sinks, and faucets and to hook up the water heater. The HVAC technicians install the furnace or air handler, the condenser unit outside, and the thermostat. At the end of this stage, the house has working electricity, water, and climate control.
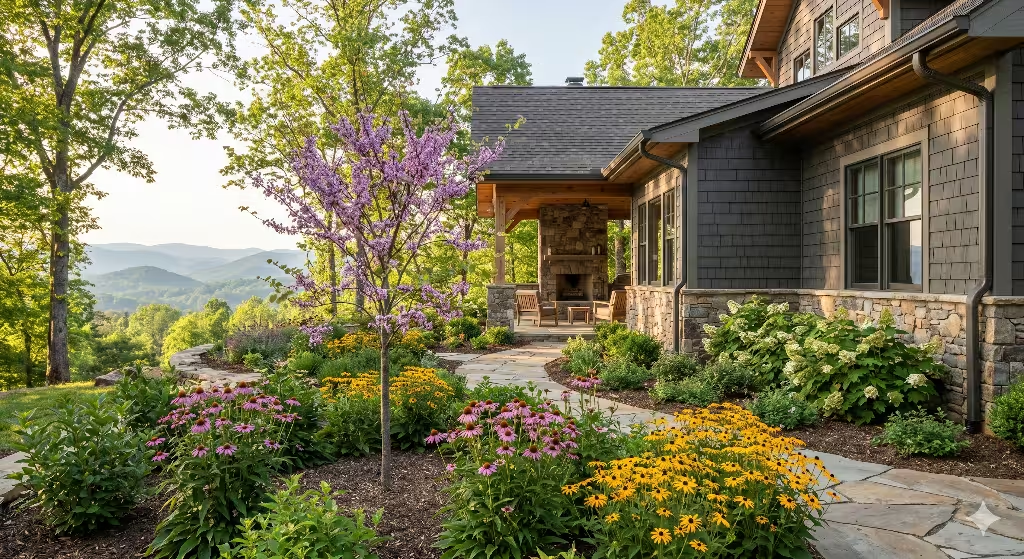
Step 7: Final Grading, Landscaping & Driveway
As the interior work wraps up, crews will finish the work on the outside of your land. They will do a final grade on the yard, spreading topsoil and preparing it for grass or other landscaping. The driveway and any walkways will be poured or paved. This final touch is what connects your new home to the surrounding land and gives it curb appeal. Careful attention to drainage during this step ensures that water flows away from your foundation on all sides of the land.
The Final Stretch: Inspections, Closing, and Keys

You’re almost there. The last few steps are about verifying the quality of the work and completing the legal and financial paperwork.
The Inspection Process
Throughout construction, a local building inspector will have visited your site multiple times to approve key stages of the work. Now, they will conduct a final inspection. They will go through the entire house, checking a long list of items to ensure everything is complete and meets all building code requirements for safety and habitability.
Certificate of Occupancy (CO)
Once your home passes the final inspection, the building department will issue a Certificate of Occupancy, or CO. This is the single most important document at the end of the process. It is the official permit that declares the home is safe to live in. You cannot legally move into your home, and your lender will not finalize your mortgage, without the CO.
The Final Walkthrough & Punch List
Before you take ownership, your builder will schedule a final walkthrough with you. This is your opportunity to go through the house room by room and point out any small issues that need to be corrected. This could be a paint touch-up, a sticky door, or a missing piece of trim. These items are compiled into a “punch list.” A professional builder will work diligently to complete every item on this list to your satisfaction. It requires a precise eye, but it is the final quality control check.
Closing & Handover
With the CO issued and the punch list complete, it’s time to close. You will meet with your lender and a closing agent to sign the final paperwork that converts your construction loan into a permanent mortgage. Once the documents are signed and the funds are transferred, the house and the land it sits on are officially yours. Your builder will then meet you at your new home to hand over the keys. They should also provide you with a packet of information containing all the warranties for your appliances, shingles, and other components, along with instructions on how to operate and maintain your new home’s systems.
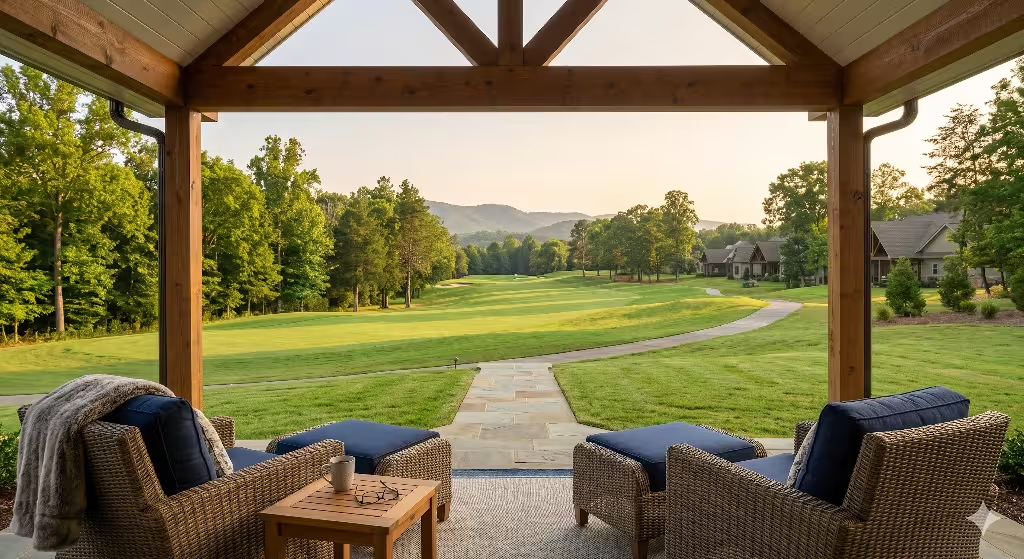
Building More Than a House in Jonesborough
The journey of building a custom home on your own land is a complex one, filled with countless details and decisions. As we’ve covered, it moves through distinct phases: the critical due diligence on your land, the detailed design and permitting, the sequential steps of construction, and the final inspections and closing. Each step builds upon the last, and none can be overlooked.
While the process is detailed, it should not be intimidating. The key to a successful and rewarding building experience lies in a methodical approach and, most importantly, in partnering with a competent and trustworthy team. Building a home in a place as special as Jonesborough is about more than just constructing a building; it’s about creating a personal sanctuary on a piece of land you chose and turning your unique vision into a lasting reality.
If you are considering this journey or have questions about your specific project or parcel of land in the Tri-Cities, I encourage you to reach out. Having the right guidance from the start can make all the difference.