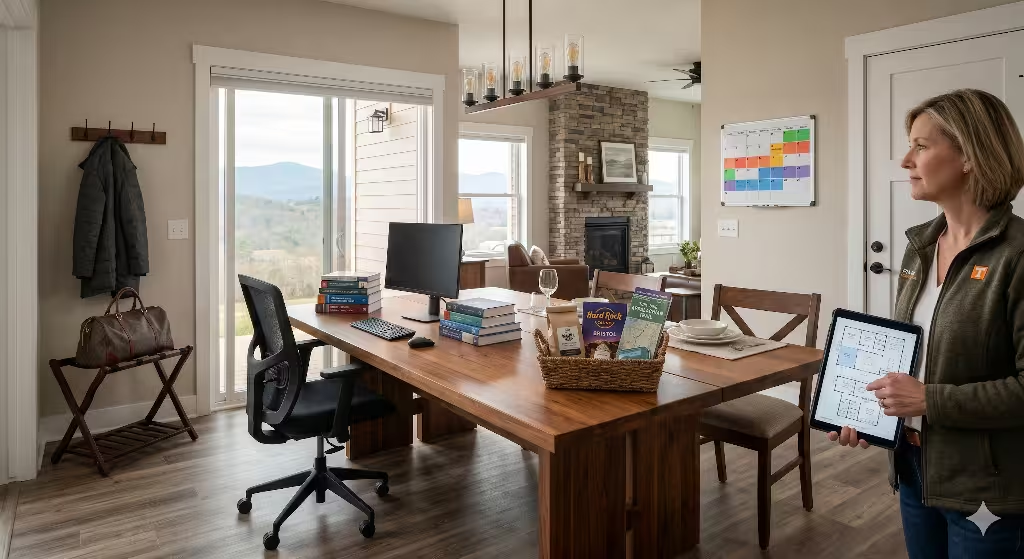
For any musician, having a dedicated space at home to write, practice, and record is the ultimate dream. It’s a room where creativity can flow without interruption. But there’s a challenge that comes with that dream. Sound waves are like water; they are relentless and will find every little crack and structural weakness to escape. This article aims to show you how to construct a room where your music stays in, and the noise of the world stays out.
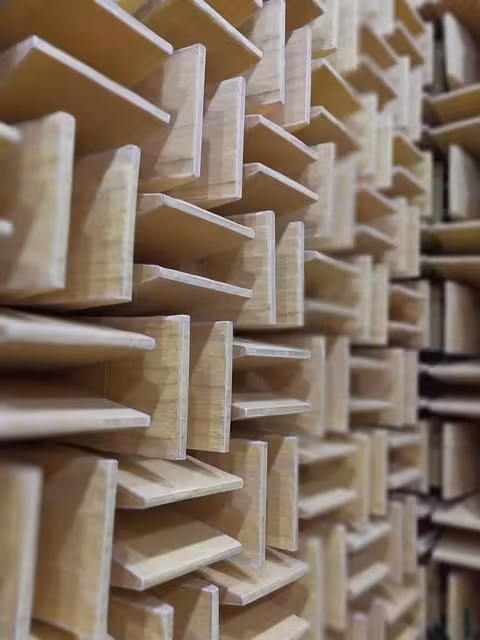
Before we begin, we must get one thing straight. Many people confuse soundproofing with acoustic treatment. Soundproofing is what we are discussing today. Its purpose is to isolate a room, preventing sound from entering or leaving. Acoustic treatment, using things like foam panels on the walls, is about controlling sound reflections inside the room to get a better recording. You can’t have good acoustic treatment without effective soundproofing first. Let’s build the quiet room you need.
The Physics of Quiet: Four Principles of Soundproofing
Understanding why certain methods work is the key to a successful soundproofing project. It’s not about magic materials; it’s about physics. There are four main principles we use to stop sound.
- Decoupling (Breaking the Path): Think of sound as a vibration. In a standard wall, the drywall on one side is attached to the same wood studs as the drywall on the other side. When sound hits one wall, the vibration travels directly through the studs to the other side. Decoupling is the process of breaking that physical path. We can do this with special clips, channels, or even building a second wall that doesn’t touch the first.
- Mass (Blocking the Sound): Simply put, heavy, dense materials are harder for sound waves to move. This is why a solid brick wall blocks more sound than a thin interior wall. For our purposes, adding mass means using heavier materials. We can add layers of thick drywall or use special materials like mass loaded vinyl to make our walls heavier and better at blocking sound. Good soundproofing always involves adding mass.
- Damping (Absorbing the Vibration): Damping is the process of taking sound vibration and turning it into a tiny amount of heat. It sounds complex, but we do this with special compounds that feel like a thick glue. We spread a layer of this compound between two sheets of drywall. When sound hits the wall, the compound flexes and shears, and the vibration simply fades away.
- Sealing (Plugging the Leaks): This might be the most important principle of all. An unsealed gap can ruin an expensive soundproofing job. Think of it like a fish tank. Even a tiny crack will let all the water out. The same is true for sound. We must seal every single gap around outlets, windows, doors, and where walls meet the floor with a flexible, non hardening acoustic sealant.
Pre-Construction Blueprint: Planning Your Studio for Success
Proper soundproofing begins long before you pick up a hammer. Thoughtful planning can save you thousands of dollars and a lot of headaches.
First, consider the location of your studio. A room in the basement, with concrete walls and floor, is a much better starting point than a spare bedroom upstairs that shares walls with other rooms. The less contact your studio has with the main living areas, the easier your soundproofing task will be.
Second, you will hear a lot about STC ratings. STC stands for Sound Transmission Class. It’s a number that rates how well a wall, floor, or ceiling assembly blocks sound. A typical interior wall in your home might have an STC of 33, where you can clearly hear loud speech. For a music studio, you should be aiming for an STC of 60 or higher. At that level, loud music will be barely audible, if at all, on the other side. Achieving a high STC is the main goal of soundproofing.
The Build: Constructing the “Room Within a Room”
Now we get to the actual construction. The best soundproofing is achieved by building what we call a “room within a room.” This means the inner walls, floor, and ceiling of your studio are all separated from the main house structure.
Walls: Your First Line of Defense
Not all soundproofing walls are created equal. Let’s look at three levels of construction.
- Good: The most basic improvement is adding a second layer of 5/8 inch drywall to your existing walls. This adds mass and will make a noticeable but small difference.
- Better: A much better approach is to use resilient channels, which are thin metal strips, on the studs before you hang the drywall. This starts the decoupling process. Combine that with two layers of drywall that have a damping compound between them, and you have a solid soundproofing solution.
- Best: For serious soundproofing, we build a second wall in front of the first one, leaving an air gap of at least one inch. Both walls are insulated with dense mineral wool, and the inner wall is finished with two layers of drywall and a damping compound. This creates a highly isolated space.
Floors & Ceilings: Isolating from Above and Below
You can’t forget about the floor and ceiling. Sound travels easily through these surfaces. For the ceiling, we use special isolation clips to hang the drywall. This decouples it from the floor joists above, which is essential for blocking footsteps or any noise from upstairs. For the floor, we can build a “floating floor.” This involves placing the new floor on top of special rubber pads or an underlayment that absorbs vibration, effectively separating it from the structure below.
Windows & Doors: The Weakest Links
You can build the world’s best walls, but if your door is a standard hollow core interior door, your soundproofing will fail. A door for a studio must be a solid core, exterior grade door. It needs to be heavy. More importantly, it must be sealed perfectly around the edges with rubber gaskets and an automatic door bottom that drops down to seal the gap at the floor when the door is closed. If you need a window, it must be a special studio window with two or three panes of glass of different thicknesses to block a wide range of sound frequencies.
The Silent Intruders: HVAC, Electrical, and Penetrations
This is where many DIY soundproofing projects go wrong. People forget about the small things that can undo all their hard work.
Your heating and air conditioning ducts are basically speaking tubes that carry sound all over the house. Studio ductwork needs to be oversized to reduce air noise and should include flexible, insulated sections to stop vibrations.
Electrical outlets can also be a problem. If you have outlets back to back on the same wall, you’ve created a direct hole for sound to pass through. In studio construction, we always stagger the outlets and wrap the back of each electrical box in a special acoustic putty pad to seal it completely. Any hole for a wire or a light must be filled with acoustic sealant.
How Much Does Silence Cost? A Realistic Look at Your Budget
It’s the big question: what does all this cost? The truth is that proper soundproofing is an investment. The cost depends entirely on how much sound isolation you need. A basic approach focusing on adding a second layer of drywall and sealing gaps is affordable. A mid range project using decoupling clips and damping compounds will cost more. A full “room within a room” build is a significant expense, but it provides professional level results.
The key takeaway is that the cost of materials is only part of the equation. It is always more cost effective to plan your soundproofing correctly from the start than it is to try and fix a noisy room later.
Conclusion: Build it Right, Build it Once
As we’ve seen, effective soundproofing is a system. It relies on the four principles of decoupling, mass, damping, and sealing working together. Every part of the room matters. A great wall is only as good as the door you put in it. My final advice is to treat soundproofing as a critical part of your construction, not an afterthought. A well planned and properly built quiet room is one of the most valuable investments you can make, giving you the freedom to create whenever inspiration strikes.