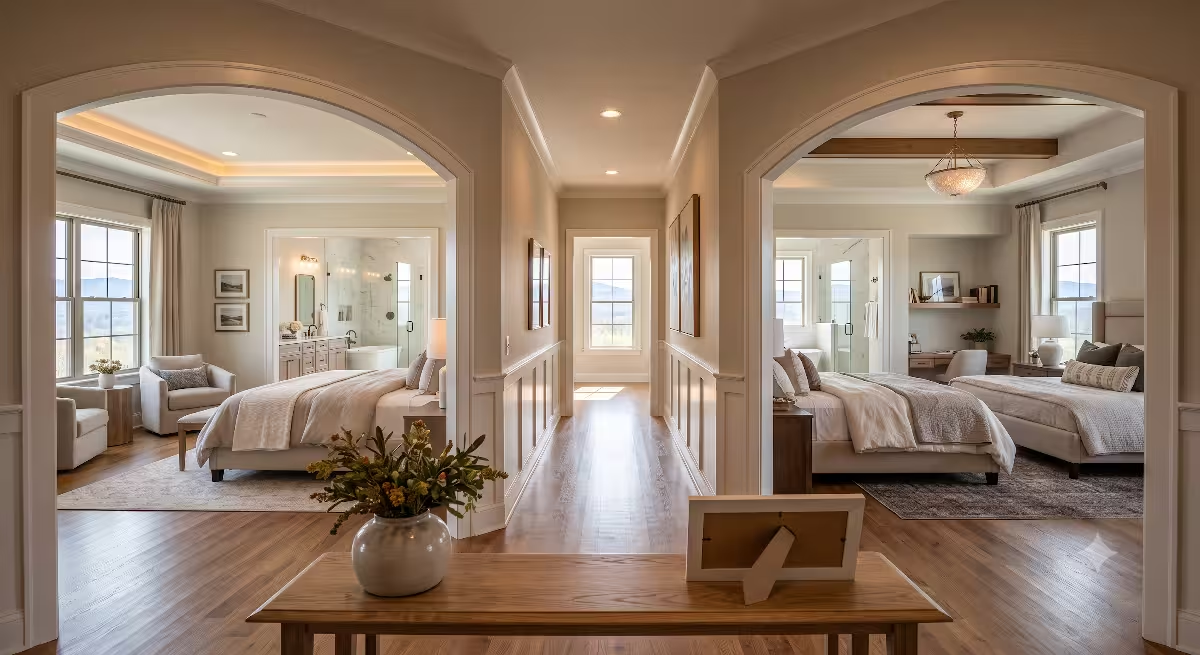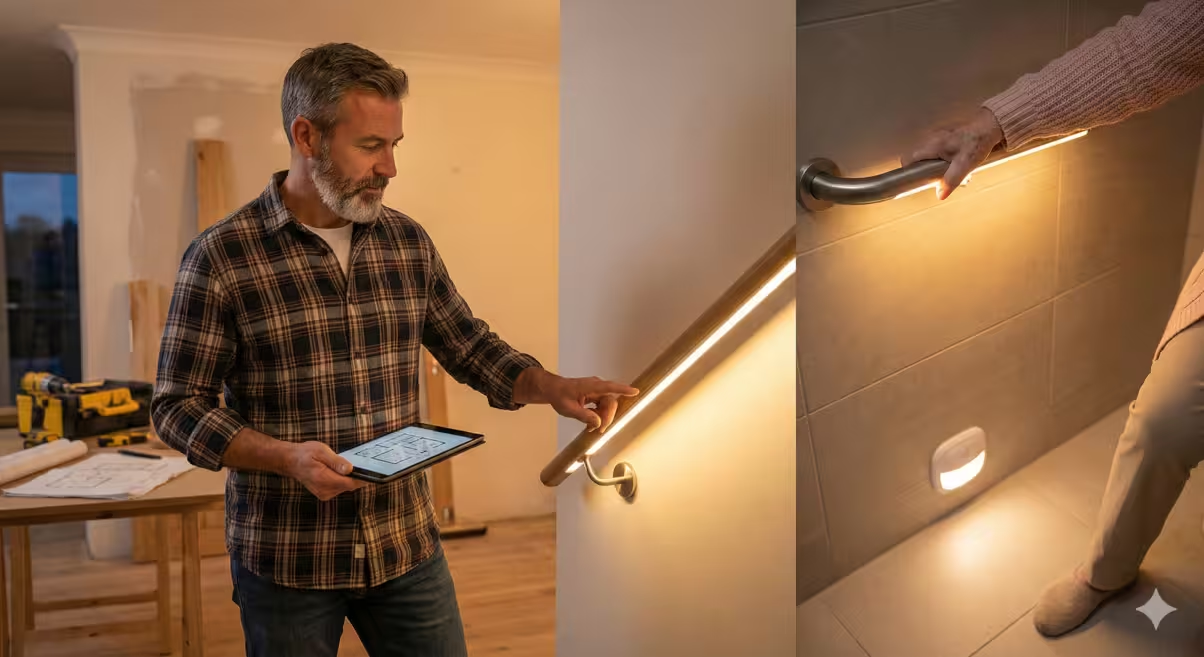

When you build a custom home in the Tri-Cities, you make hundreds of choices about paint colors, quartz countertops, and exterior siding. Yet the decisions that truly determine how your house feels to live in every day often come down to simple geometry. One element consistently defines whether a home feels open, welcoming, and permanently livable or cramped and frustrating: the doorway width clearance.
Many people think about doors only when they pick a style or finish. But the actual physical passage space, known as doorway width clearance, impacts every daily task. Think about carrying a basket of folded laundry from the master suite to the utility room, rolling a stroller inside after a walk on the Tweetsie Trail, or helping an aging parent visit comfortably for Sunday dinner. A proper doorway width clearance transforms a home from a rigid structure into an adaptable sanctuary.
Every inch on a blueprint has structural, financial, and spatial consequences. In this comprehensive guide, we will explore the precise engineering, framing standards, hardware, and design details that ensure you achieve the ideal doorway width clearance in your custom build.
Executive Overview and the Legal vs. Practical Distinction
In regards, to accessible doors, people often mention the Americans with Disabilities Act, or ADA. It helps to clarify right away where the law applies and where good building practice takes over.
Just because a narrow opening is legal does not mean it is smart building practice. Homeowners are increasingly choosing to adopt commercial-grade doorway width clearance standards inside their private homes. The reason is simple: life changes. Whether you plan to stay in your home for thirty years, want to welcome friends with diverse mobility needs, or simply want to move furniture without gouging your trim work, sufficient doorway width clearance delivers immediate, tangible value.
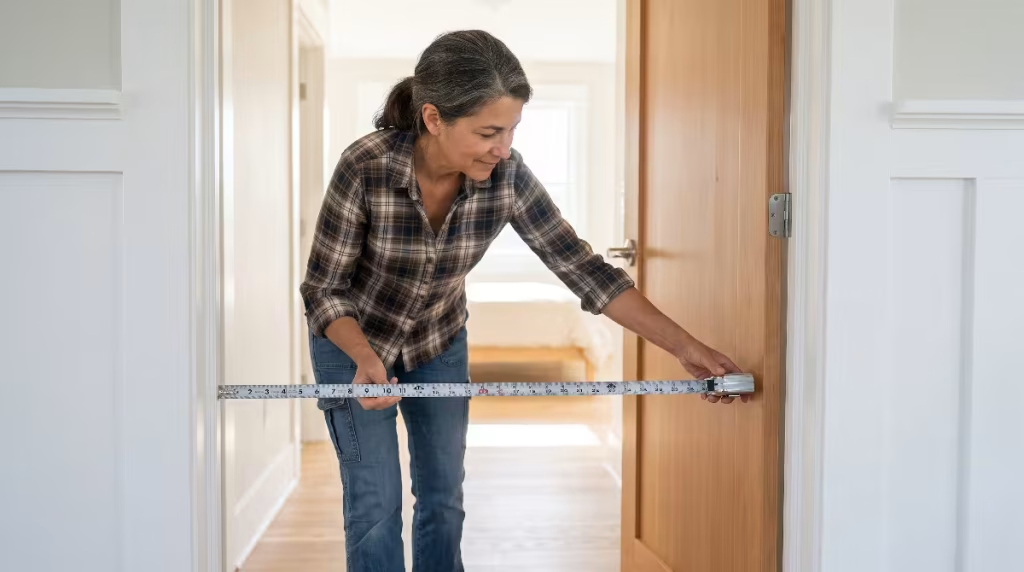
In engineering terms, doorway width clearance refers strictly to the net unobstructed space between the face of the open door leaf and the opposing door jamb stop when the door rests at a 90-degree angle. It is not the measurement of the wood slab you buy at the lumberyard. It is the real, usable passage space available to human bodies, elbows, packages, and wheels. When a builder discusses doorway width clearance, this net measurement is the only number that counts.
Planning for generous doorway width clearance during initial design
Exact Dimensions: The Math Behind the 32-Inch Net Rule
To understand how to achieve proper doorway width clearance, we must look at the specific numbers defined by
The baseline national standard for an accessible doorway width clearance is an absolute minimum of 32 inches of clear opening. This dimension comes from the clearance required for a standard adult wheelchair to pass through without grazing the user’s hands against the jambs. However, this is where many homeowners and even new builders run into trouble: a standard 32-inch door slab does not give you a 32-inch doorway width clearance.
Let us walk through the simple arithmetic that every homeowner should know:
- A standard interior door slab measures 32 inches wide.
- The door hangs inside a frame with a door stop molding that protrudes into the opening, usually taking up about one-half inch.
- When you open the door to a full 90-degree angle, the thickness of the door slab itself remains inside the opening. Modern solid-core interior doors are typically 1-3/8 inches thick, while exterior or fire-rated doors are 1-3/4 inches thick.
- The door hardware, such as a lever handle, might project slightly depending on the hinge position, but the door slab itself is the primary obstruction.
- Subtracting the door slab thickness (1-3/8 inches) and the jamb stop (1/2 inch) from a 32-inch opening leaves you with approximately 30-1/8 inches of real space.
In this scenario, a 32-inch door slab produces a failing doorway width clearance for accessibility purposes. You have an opening that pinches down to just over 30 inches, falling nearly two inches short of standard requirements.
To achieve a true 32-inch net doorway width clearance, you must install a nominal 36-inch door slab, commonly referred to in the construction trade as a “3-0” (three-foot, zero-inch) door. With a 36-inch slab opened to 90 degrees, you subtract the 1-3/8-inch door thickness and the 1/2-inch stop molding. This leaves you with roughly 34-1/8 inches of net doorway width clearance.
That 34-1/8-inch clear space easily exceeds the 32-inch minimum threshold, providing a comfortable margin of safety. Those extra two inches make an enormous difference in daily living. Hands holding the push rims of a chair do not scrape against painted casing, and someone carrying bulky grocery bags through the utility room does not have to turn sideways. When planning any main living area, specifying 3-0 doors is the gold standard for achieving the right doorway width clearance.
Framing and Rough Openings for Builders and Custom Buyers
As a builder who started out with hands-on carpentry training before earning an engineering degree, I always remind clients that finish measurements begin with rough framing. If your carpenter does not frame the rough opening correctly, your finished doorway width clearance will never match your expectations.
When framing interior walls, the rough opening must account for the door slab, the thickness of the two side jambs, and the shimming space needed to square and plumb the door frame. The universal rule of thumb for standard residential pre-hung interior doors is to frame the rough opening 2 inches wider and 2 to 2-1/2 inches taller than the door slab:
- For a 36-inch door slab (aiming for optimal doorway width clearance), your framer must build a rough opening of at least 38 inches wide by 82-1/2 inches high.
- For exterior doors, which feature thicker 1-3/4-inch jamb assemblies and bottom sills, builders usually allow 2-1/2 inches in width, creating a 38-1/2-inch rough opening.
If you want a generous doorway width clearance, you must also pay close attention to wall intersections and corner framing. In custom floor plans, architects sometimes place a door right against a perpendicular wall. If the framer places the door king stud directly against that intersecting wall without a spacer block, the finished door trim will jam against the drywall corner. Even worse, the door might not swing open past 85 or 90 degrees, severely restricting the resulting doorway width clearance.
I always require my framing crews to place at least one full stud spacer, and preferably a 4-inch to 6-inch return stud pocket, between any perpendicular wall and the door opening. This small detail ensures that the door can swing past 90 degrees toward the adjacent wall. That extra swing angle pulls the door slab out of the walk-through path, maximizing the real doorway width clearance.
Load-bearing considerations are also straightforward during framing. Installing a 38-inch rough opening requires a slightly longer structural header than a 32-inch or 34-inch rough opening. On a standard non-bearing interior partition wall, standard double 2×4 headers are common. On load-bearing walls, we engineer double 2×8, 2×10, or engineered lumber headers based on the floor and roof loads above. Upgrading a header from 34 inches to 38 inches adds only a few dollars in dimensional lumber, proving once again that achieving the proper doorway width clearance is best handled during the initial framing phase.
Maneuvering Clearances and Spatial Geometry
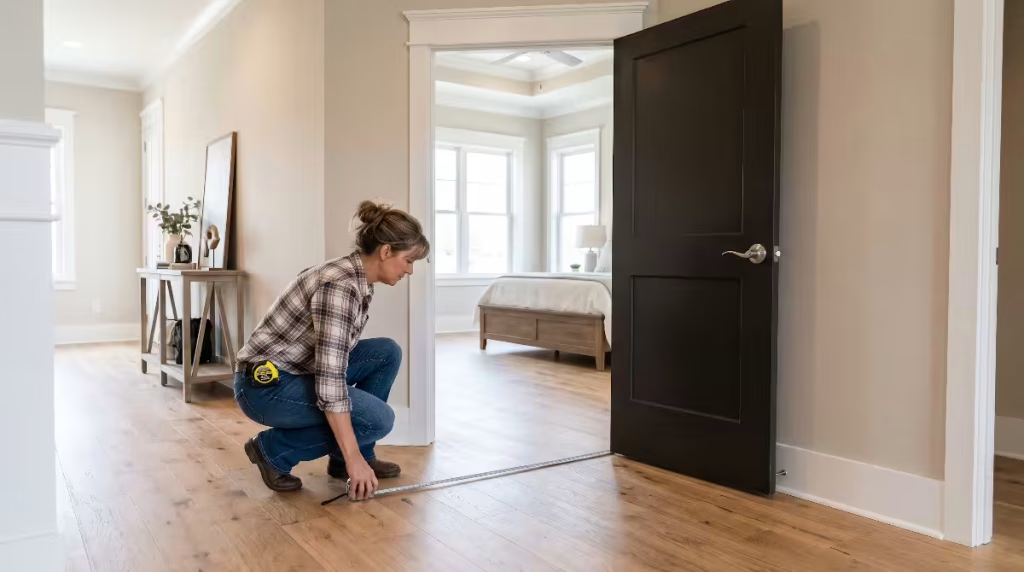
Having a wide opening is only half of the accessibility equation. A wide door is useless if the hallway or approach space does not allow a person or item to turn into it smoothly. In architectural design, this is called maneuvering clearance, and it works directly alongside doorway width clearance to create an accessible space.
Imagine navigating a busy hallway in your home with a baby stroller, a loaded laundry cart, or a wheelchair. If you encounter a 36-inch door that opens off a narrow 36-inch hallway, making that sharp 90-degree turn is awkward and frustrating. You are forced to perform a multi-point turn, scraping baseboards along the way. While the physical doorway width clearance might measure 34 inches, the approach geometry chokes off access.
To ensure your doorway width clearance works seamlessly with your home layout, observe these critical spatial rules:
- Pull-Side Approach: When you approach a door that swings toward you, you need space to pull the door open without backing into a wall or standing directly in the door’s swing path. The standard requirement is a minimum of 60 inches of clear floor depth perpendicular to the doorway, along with at least 18 inches of clear wall space on the strike or latch side of the door. This 18-inch latch clearance allows someone to reach the handle, unlatch the door, and swing it open while sitting or standing comfortably beside the swing arc.
- Push-Side Approach: When approaching a door that swings away from you, you need at least 48 inches of clear floor depth perpendicular to the doorway width clearance, plus 12 inches of clearance on the latch side if the door has both a closer and a latch.
- Corridor Width: For main circulation spines, such as the hallway connecting your garage entry to the kitchen or the master bedroom to the living room, always plan for a 42-inch or 48-inch hallway width. Pairing a 48-inch hallway with a 36-inch door slab guarantees that the doorway width clearance is accessible from any approach angle without acrobatics.
By balancing corridor dimensions with doorway width clearance, you create rooms that feel natural and spacious. High-end custom homes should never feel pinched; planning these maneuvering clearances provides a quiet luxury that you feel every single day.
Door Hardware, Levers, and Force Mechanics
Even when the framing and geometry provide ample doorway width clearance, the physical hardware you choose determines how functional that opening really is.
Traditional round doorknobs are one of the most common ergonomic hurdles in older homes. Round knobs require grasping, pinching, and twisting the wrist simultaneously. For a young child with wet hands, someone carrying two armfuls of dry cleaning, an adult dealing with carpal tunnel, or a grandparent with arthritis, a standard brass round knob is an active barrier.
Universal design standards require door hardware that can be operated easily with one hand, without tight grasping or twisting. Sleek lever handles are the standard answer for modern custom homes. A lever handle allows anyone to open the door with a downward press of an elbow, forearm, or palm.
Hardware also impacts the physical doorway width clearance:
- Lever Profile: Lever handles typically extend 4 to 5 inches outward from the door surface. Make sure the handle design does not snag clothing as people move past the doorway width clearance. Many contemporary architectural levers feature a slight inward curve at the end to prevent pockets and sleeves from catching.
- Mounting Height: Door hardware should be mounted between 34 inches and 48 inches above the finished floor surface, with 36 inches being the standard residential balance point for comfortable reach.
- Operating Force: The internal latch mechanism and hinges should operate smoothly. The mechanical force required to unlatch and open interior hinged doors should not exceed 5 pounds of force. Heavy, misaligned doors that stick in their frames negate the benefits of a generous doorway width clearance because they require shoulder power to force open.
- Automatic and Smart Hardware: In today’s custom homes, smart motorized operators and touch-to-open latch systems are becoming common additions for exterior doors and primary suites. If you integrate smart deadbolts, verify that the motorized bolt moves freely into the strike plate without binding, ensuring that your doorway width clearance remains easy to pass through at all times.
Alternative Solutions for Tight Layouts
While a standard 36-inch swinging door is the primary way to achieve an optimal doorway width clearance, custom residential floor plans sometimes present spatial challenges. A small half-bath, a pantry tucked into a structural corner, or a historical renovation might make a 36-inch swinging door impossible to fit without blocking a window or cabinetry.
When square footage is tight, you can use several smart design alternatives to maintain excellent doorway width clearance:
Swing-Clear (Offset) Hinges
If you are remodeling an existing home or working with an opening where you cannot widen the rough framing past a 32-inch or 34-inch door slab, swing-clear hinges are an ideal solution. Standard butt hinges keep the edge of the door slab suspended directly inside the frame opening when opened to 90 degrees. A swing-clear hinge features an L-shaped offset pivot that lifts and rotates the entire door slab completely outside the door frame. By moving the door slab out of the opening, a swing-clear hinge instantly recovers 1-1/2 to 2 inches of lost space, transforming a marginal opening into an acceptable doorway width clearance without tearing down a single piece of drywall.
Pocket Doors Done Right
Pocket doors are fantastic space-savers because they eliminate the floor area lost to a door’s swing path. However, typical pocket doors installed by spec builders can be frustrating. They often use cheap roller hardware that rattles, and when opened, the door slab stops with its handle buried two inches inside the wall pocket. If the handle remains buried, the effective doorway width clearance is cut short, and people can pinch their fingers trying to grab the edge.
When specifying pocket doors for true doorway width clearance:
- Always order a door slab that is two inches wider than your target clear passage. For example, use a 38-inch or 40-inch slab if you want a 36-inch opening.
- Install heavy-duty, commercial-grade ball-bearing tracks that glide silently and carry up to 200 pounds without sagging.
- Mount a proper D-loop or surface-mounted accessible pull so that when the door is fully retracted to provide maximum doorway width clearance, the hardware remains accessible outside the wall pocket.
Barn Doors and Surface-Mounted Sliders
Surface-mounted sliding doors, often called barn doors, have become popular design accents. When detailed with clean architectural hardware rather than rustic farm styles, they offer an excellent way to cover wide openings into home offices, pantries, or primary bathrooms.
Because the door hangs on the wall face outside the jamb, you can frame a very wide opening, such as 42 or 48 inches. The door slides completely past the casing, leaving 100 percent of the doorway width clearance open. If you choose this route, always install floor-mounted concealed roller guides to prevent the slab from swinging away from the wall, and include soft-close dampers on both ends of the track to protect fingers.
Bi-Fold Doors: Proceed with Caution
Standard bi-fold doors are common in reach-in closets and utility spaces, but they are the enemy of good doorway width clearance. When folded open, the stacked panels consume 4 to 6 inches of the opening. If you have a washer and dryer closet with a 36-inch bi-fold system, the remaining doorway width clearance might be as little as 30 inches, making it nearly impossible to service or replace the appliances later. Replace bi-folds with double-swing bypass doors, pivot doors, or pocket doors to preserve your clear opening.
Thresholds, Flooring Transitions, and Zero-Entry Living
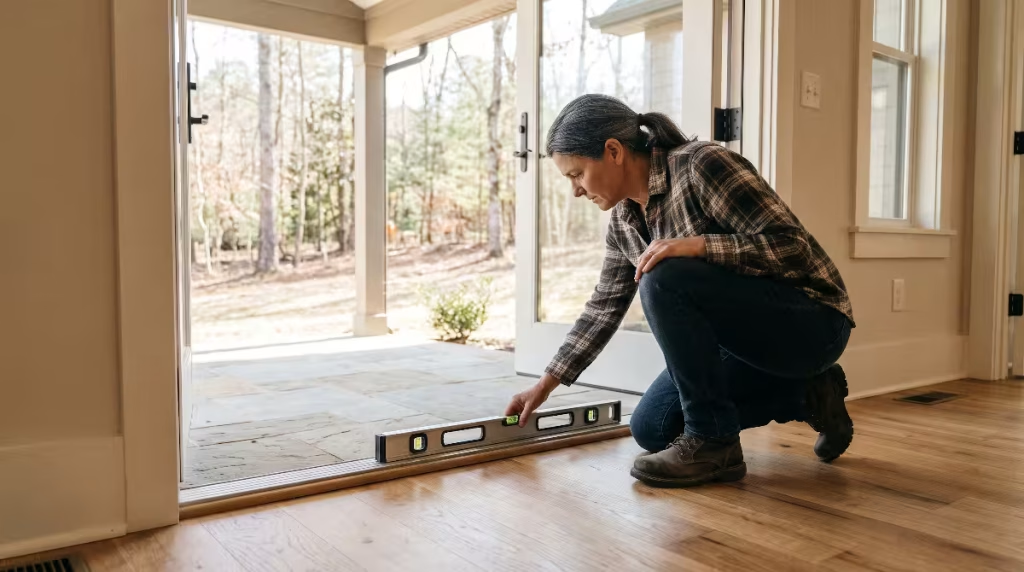
You can frame the widest opening in the world, but if there is a raised barrier at the floor, your doorway width clearance does not provide true accessibility. In custom home building, we look at the vertical floor plane with the exact same rigor as the horizontal wall plane.
A threshold is the bottom horizontal member of a door frame that spans the floor. In traditional home construction, exterior entry doors often feature raised aluminum sills with a pronounced 1-inch or 1-1/2-inch lip to block driving rain. Interior transitions between
For true accessibility and effortless movement, your transitions must follow strict height limits:
- Interior Thresholds: Finished interior floors should ideally be completely flush. There should be no raised lip at all across the doorway width clearance. If a transition strip is needed between two materials, the vertical rise must not exceed 1/4 inch. If the rise is between 1/4 inch and 1/2 inch, it must be beveled with a slope no steeper than a 1:2 ratio.
- Exterior Thresholds: Modern accessible design relies on zero-step or zero-threshold entries. On an exterior door, an accessible threshold must not exceed 1/2 inch in total height, and any edge higher than 1/4 inch must feature a smooth 1:2 bevel.
Creating a weather-tight, zero-entry exterior door requires professional engineering, especially in regions like East Tennessee where we experience strong summer storms and wet winters. To achieve a zero-step exterior threshold while protecting your home from water damage:
- Recess the concrete foundation slab or subfloor framing at the entry foyer by 1-1/2 to 2 inches.
- Install an integrated sill pan with an exterior trench drain covered by a decorative stainless steel grate right outside the doorway width clearance.
- Ensure positive grading away from the foundation and slope outdoor covered porches outward at a minimum 1/4 inch per foot.
Inside the home, run continuous flooring materials wherever possible. Carrying hardwood or engineered luxury vinyl plank continuously through the living room, hallways, and bedrooms eliminates transitions entirely. This seamless floor surface allows you to move across every doorway width clearance with zero tripping hazards, whether carrying a sleeping child or moving furniture.
Room-by-Room Doorway Priority Guide
When designing a custom floor plan, clients sometimes ask if every single door in the house needs to be a 36-inch slab. While making every door identical creates great architectural rhythm, structural constraints or room functions may require prioritizing specific zones. Here is how I prioritize doorway width clearance across a residential layout.
+---------------------------+-------------------+----------------------------+
| Room Category             | Target Slab Size  | Target Clear Passage       |
+---------------------------+-------------------+----------------------------+
| Main Entry & Garage Entry | 36" to 42"        | 34" to 40" Net Clear       |
| Primary Suite & Bath      | 36"               | 34" Net Clear              |
| Secondary Bedrooms/Baths  | 36" (min. 34")    | 32" to 34" Net Clear       |
| Walk-in Pantry & Laundry  | 36" (pocket/swing)| 34" Net Clear              |
| Utility & Mechanical      | 34" to 36"        | 32" Net Clear              |
| Secondary Closet Spaces   | 30" to 32"        | 28" to 30" (Non-Occupied)  |
+---------------------------+-------------------+----------------------------+
1. Main Exterior Entrances and Garage Entry Doors
Your front door, back patio sliders, and the service door from the attached garage are your home’s working portals. These doors handle high traffic, heavy loads, and moving days.
- Specification: Never install less than a 36-inch slab here; a 38-inch or 42-inch exterior door is even better.
- Focus: Ensure the entry from the garage into the mudroom has a generous doorway width clearance and zero steps. Bringing in armfuls of groceries from the car into the kitchen should be a direct, level path.
2. The Primary Suite and Primary Bathroom
This is your personal everyday retreat, and it is the room where you are most likely to age in place or recover from unexpected life events, such as an athletic injury or joint surgery.
- Specification: Require a 36-inch door slab for the bedroom entry and the bathroom door, delivering an open doorway width clearance of at least 34 inches.
- Focus: The bathroom is historically the narrowest doorway in older homes, often measuring a tight 28 inches. That is a major mistake. You need ample doorway width clearance to comfortably enter the bathroom, approach the vanity, and roll into a zero-threshold curbless shower.
3. Kitchen, Walk-In Pantry, and Dining Circulation
The kitchen is the command center of the home. Families congregate here, and circulation paths must stay clear even when multiple people are cooking together.
- Specification: Entryways into walk-in pantries or prep kitchens should provide a full 34-inch doorway width clearance.
- Focus: If you use a pocket door for the pantry, specify a 38-inch slab on a heavy-duty track so the open passage remains wide enough to walk through with large serving trays or wholesale grocery boxes.
4. Laundry and Utility Rooms
Laundry rooms must handle oversized, heavy appliances that occasionally need service or replacement.
- Specification: Frame for a 36-inch slab, providing a minimum 34-inch doorway width clearance.
- Focus: Modern high-efficiency front-load washing machines and dryers are frequently 29 to 31 inches deep and wide. Trying to squeeze a 30-inch laundry unit through a 30-inch door with a 28-inch clear opening requires taking the door completely off its hinges and scratching the trim. Generous doorway width clearance eliminates this headache.
5. Secondary Bedrooms and Guest Bathrooms
Even if secondary bedrooms are intended for children or guests today, maintaining a consistent doorway width clearance ensures your home remains flexible.
- Specification: Maintain a minimum 34-inch slab (yielding a 32-inch clear opening) or standardize on 36-inch slabs throughout the entire hallway.
Frequently Asked Questions about ADA Doorway Width Clearance
When homeowners begin researching floor plans online, they encounter technical terminology that can create confusion. Below are direct, engineer-verified answers to the questions people most frequently ask search engines about residential door accessibility.
What is the standard ADA door width for a residential home?
Under federal guidelines based on the ADA and ANSI A117.1, the standard requirement for an accessible opening is a minimum of 32 inches of clear, unobstructed doorway width clearance when the door is opened to 90 degrees. In private residential construction, this standard is not legally mandated by federal law, but it represents the national industry benchmark for accessible living. To hit this 32-inch target in practice, builders install a standard 36-inch door slab.
Can a 30-inch or 32-inch door ever be ADA compliant?
In its standard installation with conventional butt hinges, a 30-inch or 32-inch door cannot meet accessibility standards. A 30-inch door yields an actual doorway width clearance of roughly 28 inches, while a 32-inch door yields about 30 inches of net space. However, if you equip a 34-inch door with specialized swing-clear offset hinges, the door slab swings completely clear of the jamb, which can achieve the required 32-inch net doorway width clearance. For true ease of use, starting with a 36-inch slab is the far superior choice.
How deep can an accessible doorway opening be?
The standard 32-inch minimum doorway width clearance applies only to doorways or passage openings that are 24 inches deep or less, which easily accommodates standard interior stud walls framed with 2x4s or 2x6s. If a doorway opening or pass-through alcove exceeds 24 inches in depth (for example, passing through a thick stone masonry wall or a double-closet vestibule), the minimum required doorway width clearance increases from 32 inches to 36 inches. This extra width gives the user room to maneuver without feeling boxed in by deep side walls.
Does universal design and accessible door framing hurt resale value?
The exact opposite is true. Today’s custom home buyers value open-concept living, intuitive layouts, and long-term functionality. When you design a home with a generous doorway width clearance, the rooms feel brighter, more modern, and more luxurious. Buyers may not immediately pull out a tape measure, but they instantly feel the effortless traffic flow. As the population ages, homes that already feature zero-entry transitions and wide, accessible doorways command a premium price on the resale market because they require zero expensive retrofits.
Construction Action Plan and Quality Verification Checklist
Achieving proper doorway width clearance does not happen by accident. It requires clear communication from the day you draw your floor plans until the final trim carpenter drives the last nail.
To ensure nothing is lost in translation between your vision, your architectural drawings, and your job site, use this structured four-phase verification process during your build:
Phase 1: Architectural Plan Audit
- Audit the Door Schedule: Review the door schedule table on your architectural drawings. Ensure that all primary interior doors are specified as 3-0 (36-inch) slabs rather than 2-6 (30-inch) or 2-8 (32-inch) slabs.
- Inspect the Wall Returns: Check that the drawings show at least 4 to 6 inches of wall return between door jambs and perpendicular walls so doors can swing past 90 degrees to maximize doorway width clearance.
- Verify Hallway Widths: Confirm that hallways feeding into 36-inch doors are drafted at a minimum of 42 inches wide, with 48 inches preferred for main circulation areas.
Phase 2: Framing Stage Inspection
- Measure Rough Openings: Before mechanical rough-ins begin, walk the job site with your builder and a tape measure. For every 36-inch door slab, verify that the framers built a rough opening of at least 38 inches wide.
- Check Header Clearances: Ensure headers are straight, level, and properly supported with appropriate jack and king studs.
- Inspect Pocket Door Frames: Ensure pocket door framing kits are plumb, squared, and installed with heavy-duty aluminum tracks. Verify that the pocket depth allows the door slab to retract fully while leaving the pull hardware accessible without compromising the doorway width clearance.
Phase 3: Trim and Hang Verification
- Check the 90-Degree Swing: Once pre-hung doors are installed, swing each door open to exactly 90 degrees.
- Measure Net Passage: Measure the distance from the face of the open door to the inside edge of the opposite stop molding. Confirm that the measurement meets or exceeds your 32-inch minimum doorway width clearance goal.
- Test the Plumb: Ensure the door hangs plumb. A door that drifts closed on its own obstructs your doorway width clearance and indicates an out-of-plumb jamb.
Phase 4: Hardware and Flooring Sign-Off
- Verify Lever Operation: Confirm that smooth, single-action lever handles are installed between 34 and 48 inches from the finished floor surface.
- Inspect Floor Sills: Check all flooring transitions across every doorway width clearance. Ensure interior transitions are smooth and flush, with no raised lips exceeding 1/4 inch.
- Check Door Sweep Clearances: Ensure bottom door sweeps on exterior doors clear the zero-entry threshold without dragging or requiring excessive pulling force.
Final Thoughts: Building for Today and Tomorrow
Building a home is one of the most rewarding investments you will ever make. It is a creative process where lines on paper transform into the spaces where you will gather with family, rest, and celebrate life milestones.
When you prioritize structural details like doorway width clearance, you are not merely checking a box on a construction checklist. You are investing in how easily you will move through your home every single morning. You are choosing a layout where rooms flow together naturally, where every guest feels welcome, and where you can live comfortably through every season of life.
Take the time to review your plans, talk openly with your builder, and insist on the dimensions that matter. By building with intention from the rough framing up, you will create a beautiful, enduring home that serves you and your family flawlessly for decades to come.