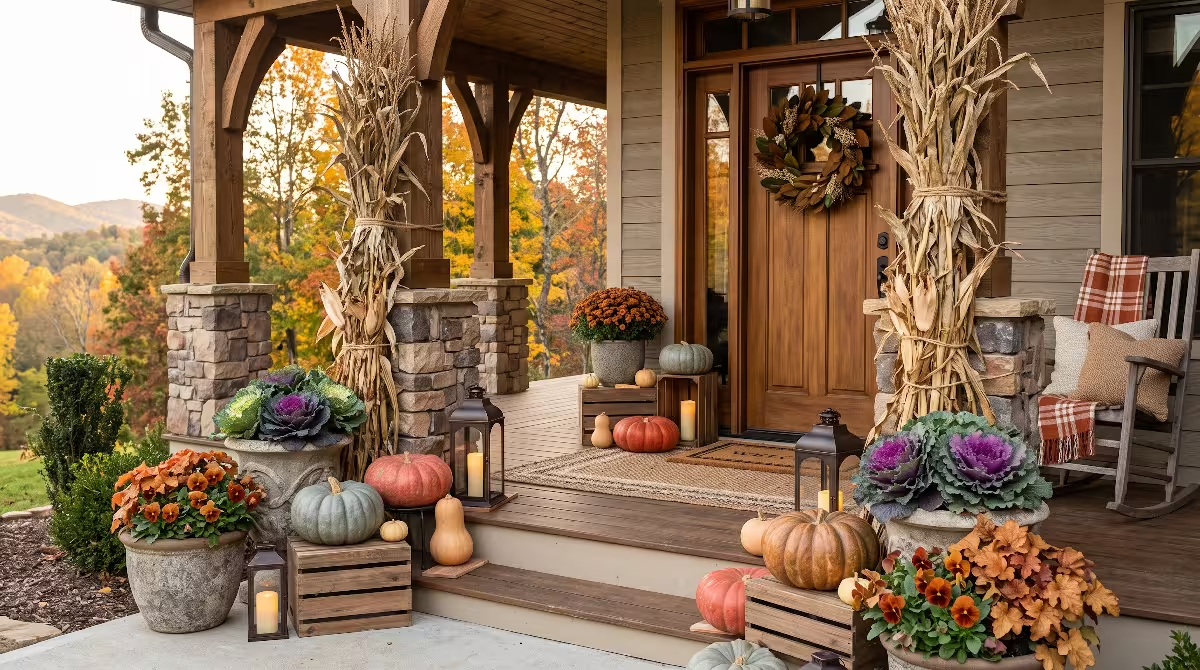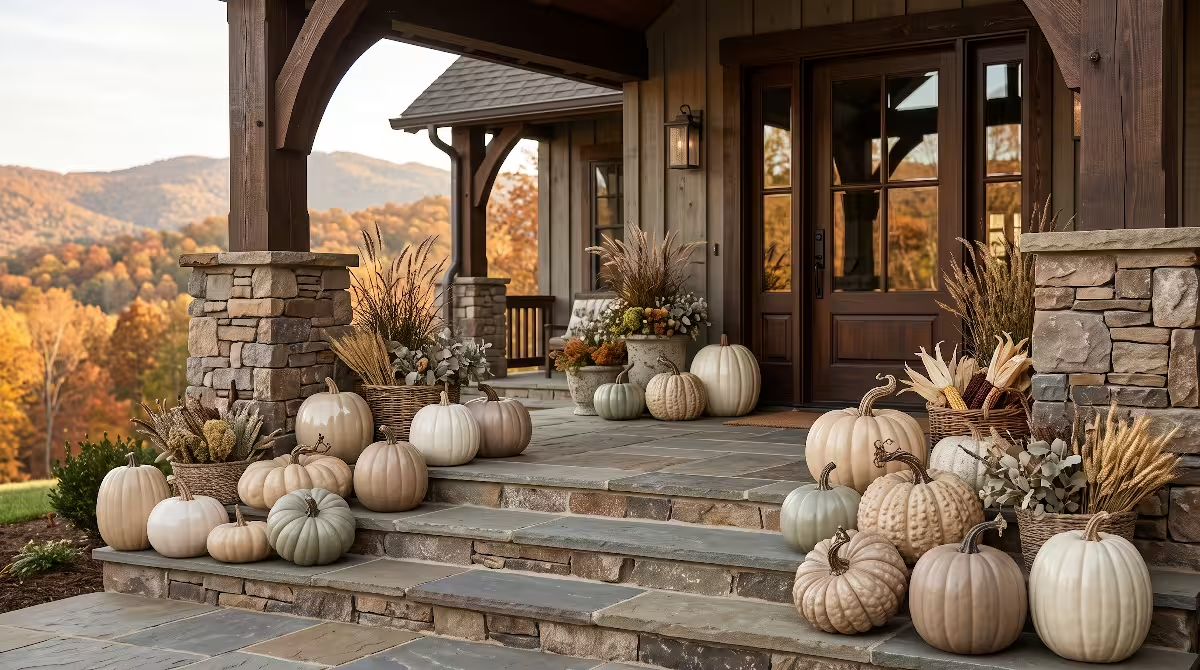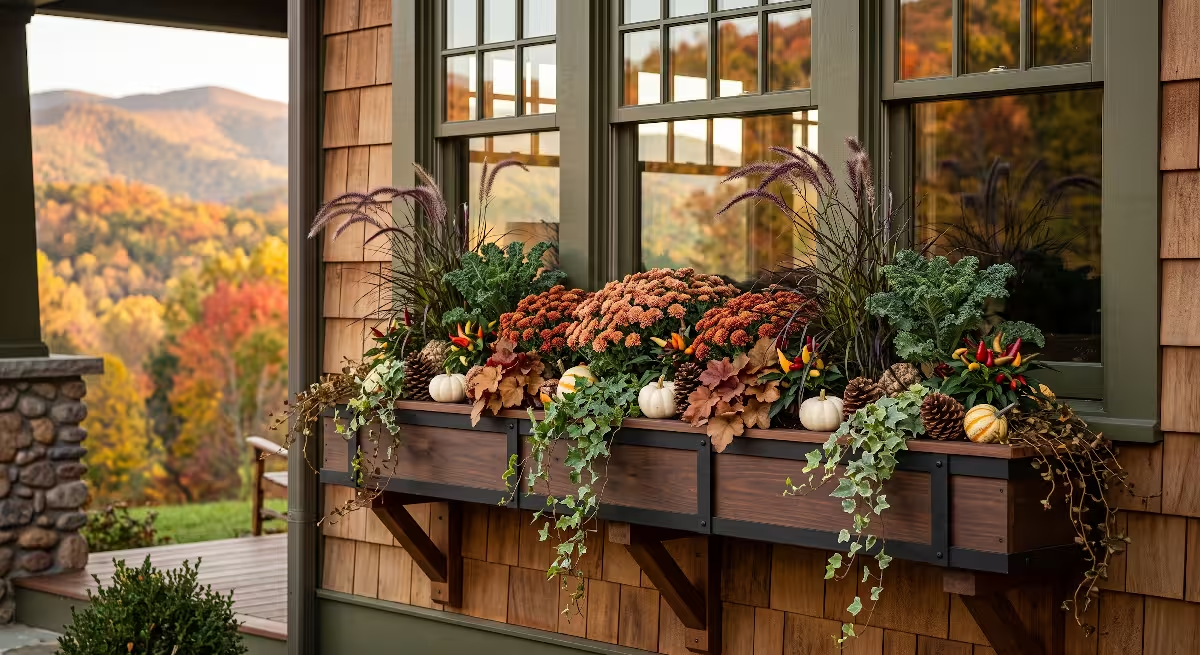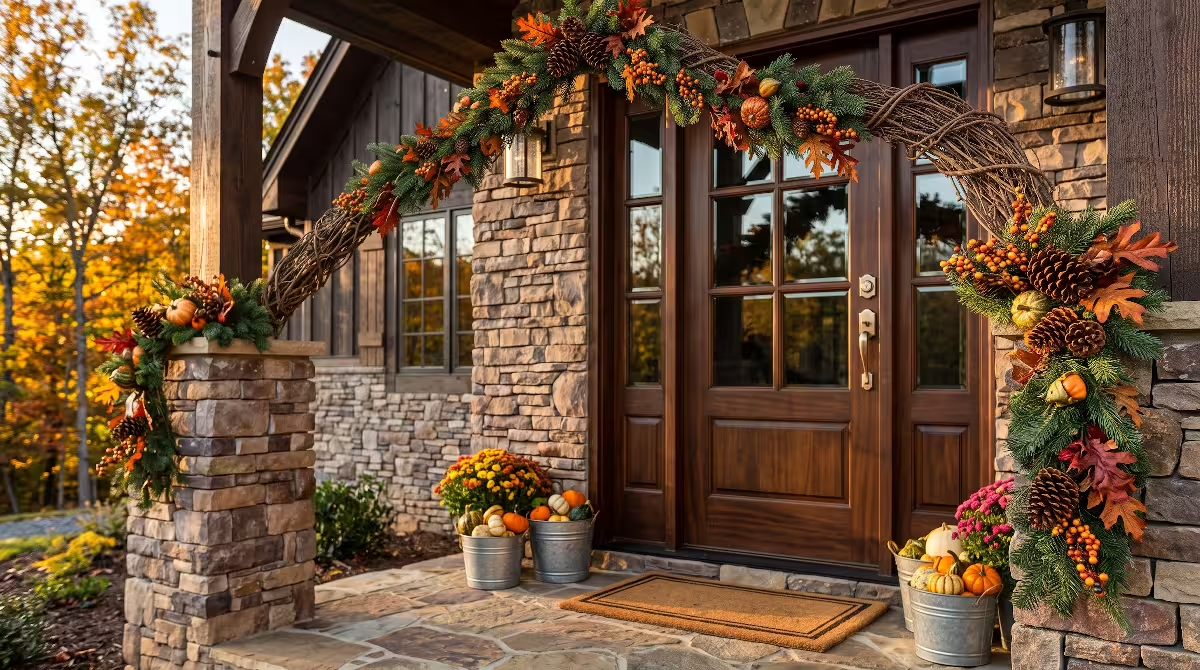
There is something special about the arrival of fall in the hills of East Tennessee. This is when our Appalachian hardwood ridges turn into rolling waves of deep crimson, burnt orange, and bright amber. When the air cools down and the trees put on their annual display, almost every homeowner wants to bring that natural beauty inside. We want our living rooms, dining tables, and entryways to reflect the crisp, warm character of the season outside our windows.
Using real foliage is the most authentic way to celebrate the season, but freshly fallen leaves usually dry out, curl into tight tubes, and crumble into brown dust within just a couple of days. If you want to use real foliage that lasts, learning how to seal foliage in natural wax solves that problem completely.
In this complete guide, we will explain the exact science, step-by-step methods, safety precautions, and interior styling techniques you need to create lasting, flexible, and gorgeous botanical accents for your home. You will learn how to select the best branches, prepare your workspace, manage your wax temperatures, and design room displays that look professionally styled while staying completely natural.
The Science and Aesthetic of Natural Preservation
The Problem with Raw Foliage
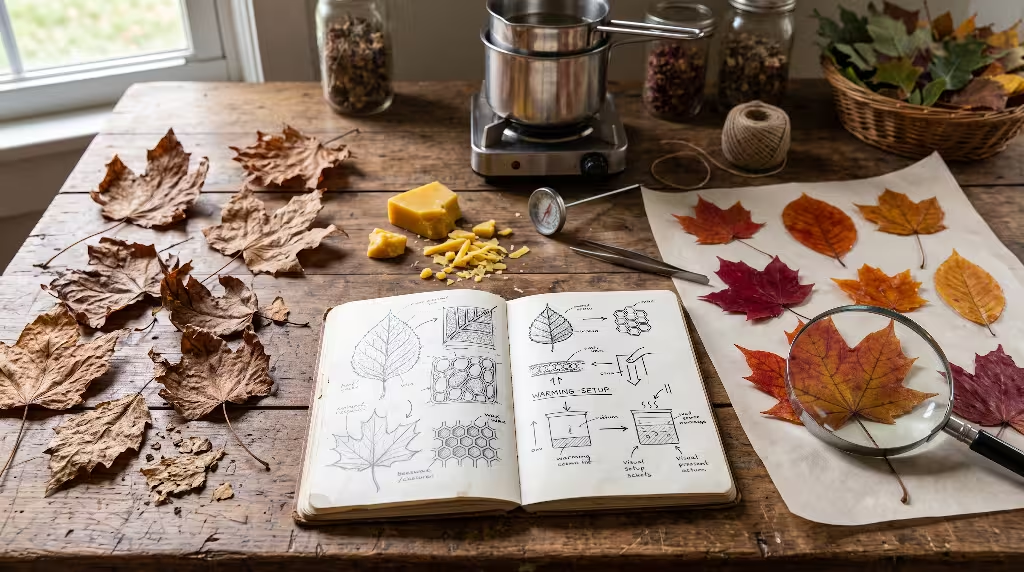
To understand why natural preservation works, we first have to look at what happens inside a leaf once it separates from a tree branch. During the spring and summer, a leaf functions like a tiny solar engine. Its veins pump water and nutrients continuously from the root system through the stem. The green pigment called chlorophyll absorbs sunlight to feed the tree.
When autumn arrives and the daylight hours grow shorter, deciduous trees begin to prepare for winter dormancy. The tree forms a small protective layer of cork-like cells, known as the abscission zone, right across the base of the leaf stem. This layer cuts off the flow of water and sap to the leaf. As water stops flowing, the green chlorophyll breaks down, which finally reveals the hidden yellow, orange, and purple pigments underneath.
Soon after, the leaf falls to the ground. The moment that leaf is no longer attached to a living moisture supply, the dry air in your home immediately starts pulling moisture out of the cellular walls. As residential home builders, we design modern homes with tightly sealed building envelopes and central heating systems. When your heat kicks on during chilly October nights, the relative humidity inside your living spaces can quickly drop down below thirty percent.
This warm, dry indoor air rapidly sucks the remaining water from thin plant cells. As the cells dry out, their walls shrink at uneven speeds. The top surface of the leaf dries differently than the bottom surface, which forces the edges to curl inward. Within forty-eight hours, the fragile leaf tissue becomes brittle. The pigments oxidize and fade to a dull brown, and the leaf shatters if you touch it. If you want to use fresh autumn leaves for decor, you must provide an airtight physical barrier that stops evaporation dead in its tracks.
Why Beeswax Outperforms Synthetics
Over the years, people have tried many different craft methods to preserve fall foliage. Some people use clear craft spray, some soak leaves in vegetable glycerin, and others use chemical sealers or paraffin wax. However, pure natural beeswax remains the gold standard for anyone who cares about building health, material quality, and visual beauty.
Paraffin wax is a byproduct of crude oil refining. When paraffin cools, it forms a stiff, brittle crystalline structure. If you coat a leaf in paraffin, the coating cracks whenever the leaf moves or bends. Paraffin also has a harsh chemical look, and when it is melted, it can release synthetic petroleum fumes into your indoor air. Soy wax, on the other hand, is very soft and has a very low melting point. A soy wax coating often feels greasy to the touch and does not dry with a clean, clear finish.
Pure beeswax behaves completely differently because of its unique organic chemistry. Beeswax is an all-natural substance made of over three hundred natural compounds, including fatty acids, natural esters, and long-chain hydrocarbons. When melted and cooled, beeswax forms an elastic, flexible film rather than a brittle shell. It moves naturally with the leaf veins instead of cracking.
Beeswax melts at a moderate temperature, usually between 144 degrees and 147 degrees Fahrenheit. This temperature range is warm enough to coat plant fibers smoothly, but gentle enough that it does not scorch the natural plant colors. Beeswax is completely non-toxic, food-safe, and fills your living room with a gentle, subtle scent of pure honey. When you use beeswax to prepare your autumn leaves for decor, you create a satin finish that lets the true leaf colors glow while keeping the foliage soft and pliable for months.
The Biophilic Living Connection
In modern residential architecture and custom interior design, we talk a lot about biophilic design. Biophilia is simply the idea that human beings feel calmer, happier, and healthier when our indoor spaces include natural materials and reminders of the outdoor world. When women design custom homes today, they often prioritize peaceful spaces that reduce daily stress. We want clean air, natural sunlight, organic textures, and warm materials that help our families feel grounded.
Plastic craft store greenery simply cannot provide that real feeling of peace. Synthetic leaves are made of colored plastic films and synthetic dyes that off-gas volatile compounds and collect static dust in your living room. They look flat, artificial, and cheap under natural sunlight.
Real preserved foliage bridges the gap between home engineering and organic nature. When you bring authentic sugar maple, scarlet oak, and sweetgum leaves into your rooms, you bring real natural patterns into your home. The gentle curves of natural leaf veins, the subtle shifts from red to gold, and the soft amber glow of natural beeswax add genuine warmth to your space. Preserving natural autumn leaves for decor allows you to bring the beauty of the outdoors inside in a way that feels intentional, sustainable, and peaceful.
Material Selection: Harvesting and Preparing the Best Foliage
Optimal Tree Species for Dipping
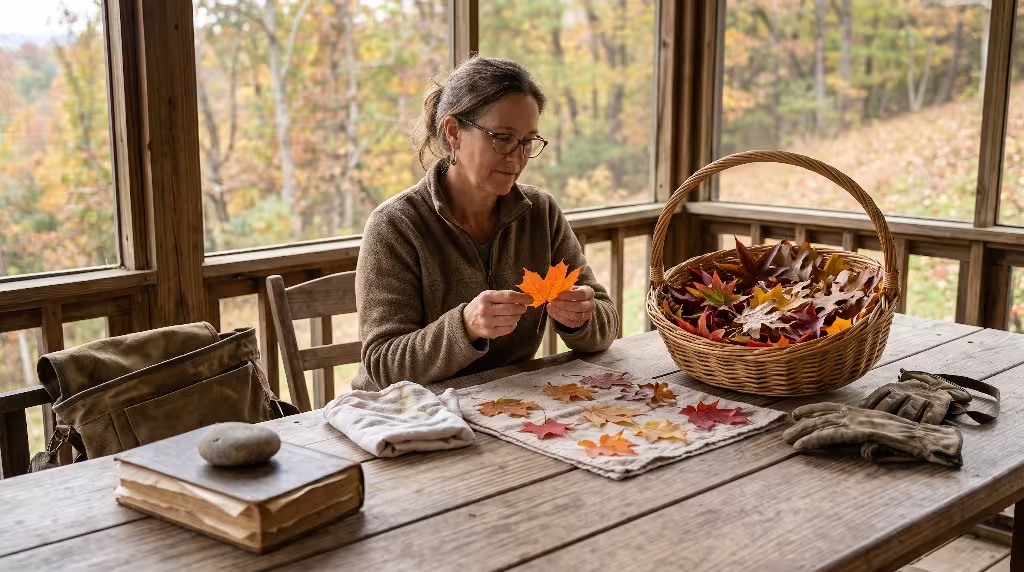
Not every tree in the forest produces leaves that take well to wax dipping. Some species have leaves that are too thin, while others hold excessive water or turn brown before they even hit the ground. When you head outdoors to gather autumn leaves for decor, knowing which species to choose will make the difference between a project that looks professional and one that ends in soggy disappointment.
Here are the best tree species to look for when selecting foliage:
- Sugar Maple (Acer saccharum): Sugar maples are the absolute royalty of fall crafting. Their leaves have a sturdy structure, thick veins, and an incredible range of colors that shift from radiant golden yellow to brilliant neon orange and scarlet. The leaf tissue is firm enough to handle warm wax without tearing, making sugar maples the best choice for beginners.
- Red Maple (Acer rubrum): Red maples offer deep crimson, ruby red, and wine-colored leaves. They tend to be slightly smaller and more delicate than sugar maples, but their intense red pigment holds up beautifully under a thin layer of natural beeswax.
- Sweetgum (Liquidambar styraciflua): Sweetgum leaves have a distinct five-pointed star shape that adds architectural interest to any floral arrangement. They produce rich, dramatic colors including dark plum, deep burgundy, and burnt orange. Their thick, leathery texture absorbs wax smoothly and cures into durable autumn leaves for decor.
- White Oak and Northern Red Oak (Quercus alba and Quercus rubra): Oak leaves are thick, tough, and full of natural tannins. While they often turn shades of russet, copper, and warm leather brown rather than bright neon red, their structural strength is unmatched. Waxed oak leaves will hold their shape longer than almost any other leaf species.
- Flowering Dogwood (Cornus florida): Dogwoods are common throughout the Southeast, and their small, oval leaves turn a gorgeous shade of purple-red in mid-October. Because of their smaller size, dogwood leaves work well for delicate craft projects like napkin rings, place cards, and glass jar accents.
There are also a few tree species that you should avoid:
- Tulip Poplar (Liriodendron tulipifera): Even though our Tennessee state tree puts on a lovely bright yellow show, its leaves are very papery, absorb moisture unevenly, and turn to a muddy dark brown within hours of falling.
- River Birch (Betula nigra): Birch leaves are too thin and fragile. The hot wax tends to saturate the paper-thin fibers completely, causing them to turn translucent and lose their yellow color.
- Ginkgo (Ginkgo biloba): While the fan shape of ginkgo leaves is stunning, they have a thick, waxy natural skin that often repels melted beeswax, leaving uneven patches on the surface.
The 24-Hour Harvesting Rule
Timing is everything when you are gathering botanical materials. One of the biggest mistakes people make when gathering autumn leaves for decor is picking up leaves that have been lying on the damp grass for several days. Once a leaf sits on the damp soil, soil bacteria and mold spores begin breaking down the cell walls. Moisture from morning dew accelerates rotting, and the vibrant pigments begin to turn muddy.
Follow what I call the 24-Hour Harvesting Rule. You only want to gather leaves that have separated from the tree within the past twenty-four hours. Even better, you can harvest fresh leaves directly from low-hanging branches right when the stem is ready to release.
To test whether a leaf is fresh enough to preserve, pick it up and gently roll it around your index finger. If the leaf bends smoothly without snapping, cracking, or tearing along the veins, its cell walls still contain enough natural elasticity for the project. If you hear a dry crunch or see a vein snap, leave that leaf on the ground. Only supple, pliable specimens will yield smooth, beautiful autumn leaves for decor that will last through the holidays.
Pre-Dipping Moisture Protocol
Before you turn on your melting pot, your harvested leaves must go through a careful cleaning and drying process. When you bring leaves in from outside, they carry fine road dust, pollen, bird residue, and soil particles. If you dip dirty leaves into hot wax, that dirt will permanently stick in the wax coating and cloud your melting pot.
Begin by gently wiping both sides of each leaf using a barely damp, soft cotton cloth or clean microfiber rag. Do not scrub hard, because aggressive rubbing will scratch the delicate surface cuticle and bruise the colorful plant tissue.
Next, you must ensure that there is zero moisture on the surface of the leaf. This point is critical: water and hot wax do not mix. If you drop a leaf with water droplets on it into hot melted beeswax, the trapped water will instantly flash into tiny pockets of steam. This creates cloudy white bubbles on your leaf and can cause the hot wax to pop and spatter out of your pot. Lay your wiped leaves flat on dry bath towels or paper towels for two hours in a well-ventilated room until every trace of surface dampness is gone.
If some of your harvested leaves have slight bends or wavy edges, you can give them a brief flattening press before dipping. Place the dry leaves between two sheets of clean parchment paper, and lay a couple of heavy books or a flat wooden board across them for twelve hours. You do not want to press all the life and dimension out of them, but a brief flattening ensures that the wax can coat both sides evenly without pooling in deep natural wrinkles. Once your foliage is clean, flat, and completely dry, your autumn leaves for decor are ready for the dipping station.
Equipment and Workspace Setup: Safe, Precise Execution
Tool Inventory Checklist
Setting up your workspace properly makes the dipping process relaxed, enjoyable, and mess-free. Because beeswax hardens quickly when it cools, having all your materials lined up ahead of time keeps your workflow moving smoothly.
Here is the exact tool inventory you will need:
- Pure Natural Beeswax: Look for 100% pure filtered yellow beeswax. You can buy it in one-pound blocks or small pellets. Unrefined yellow wax from a local beekeeper is ideal because it retains a warm golden hue and a sweet, natural honey aroma. Avoid bleached white beeswax, which lacks that warm autumnal glow.
- Double Boiler or Dedicated Melting Pitcher: Never melt beeswax in a single pan sitting directly on a stove burner. You must use a double boiler setup. A metal pouring pitcher sitting inside a wide skillet of water works perfectly. Keep this pan dedicated to wax projects, as cleaning hardened beeswax out of everyday cookware is very difficult.
- Digital Cooking Thermometer or Candy Thermometer: Accurate temperature management is the secret to success with this craft. A simple digital probe thermometer allows you to check your wax temperature in seconds.
- Wooden Spring Clothespins or Craft Tweezers: While you can hold larger leaves by their natural stems with your fingers, wooden clothespins give you a safe, secure grip and keep your fingers away from the hot wax.
- Parchment Paper or Silicone Baking Mats: You will need a non-stick surface where your freshly dipped leaves can rest while they cool. High-quality kitchen parchment paper laid across a clean countertop works best.
- Newspaper or Drop Cloths: Cover your entire work surface and the floor around your stove with brown craft paper or old newspapers to catch any accidental stray drips.
Safety Protocols and Temperature Control
Working with melted beeswax is very safe as long as you respect basic heat principles. As an engineer and home builder, I always look at fire safety and material properties first. Beeswax has a flashpoint of approximately 400 degrees Fahrenheit. This means that if beeswax is heated directly on a hot electric element or open gas flame without a water buffer, it can ignite and cause a dangerous grease-style fire.
This is why you must always use a water bath. Water cannot heat past its boiling point of 212 degrees Fahrenheit at sea level, which means a double boiler acts as a natural physical safety limiter. Keep your stove burner set on low to medium-low, maintaining a gentle simmer in the lower water pan without letting the water boil over into your wax pot.
The ideal working temperature for dipping leaves in beeswax is between 150 degrees and 165 degrees Fahrenheit.
If your wax drops below 145 degrees Fahrenheit, it will begin to thicken. Thick wax leaves a heavy, milky white layer on the leaf that hides the beautiful colors and creates unsightly clumps. On the other hand, if your wax gets hotter than 175 degrees Fahrenheit, the excess heat will cook the delicate plant tissues. The bright reds and oranges will turn dark brown or olive green within seconds of contact. Keep your digital thermometer handy, and check the temperature every few minutes to make sure your autumn leaves for decor receive the perfect protective seal.
Finally, keep children and pets at a safe distance from the hot stove area, and make sure your workspace is clear of tripping hazards. Keep a roll of paper towels nearby to wipe away warm drips immediately before they solidify.
Step-by-Step Guide: How to Preserve Autumn Leaves for Decor With Beeswax
Now that your workspace is organized and your materials are prepared, we can move into the hands-on dipping process. Preserving natural leaves in wax is a rhythmic, calming craft that feels wonderful once you find your working pace.
Step 1: Liquefying and Tempering the Wax
Place your wax pellets or shredded wax blocks into your metal melting pitcher. Fill your outer saucepan with two to three inches of clean water, making sure the water level does not cause your inner wax pot to float or tip over. Place the setup on your stove over medium-low heat.
Allow the wax to melt slowly. Stir it occasionally with a clean wooden craft stick or wooden skewer. As the wax turns into a clear, golden liquid, insert your digital thermometer into the center of the pot, making sure the tip does not touch the metal bottom of the container.
Once the temperature reads between 155 degrees and 160 degrees Fahrenheit, turn your stove burner down to its lowest setting to hold that temperature steady. Let the liquid wax settle for five minutes so that any tiny air bubbles rise to the surface and pop. When the liquid looks like clear, warm honey, your bath is tempered and ready for dipping.
Step 2: The Single-Dip Immersion Technique
Select your first leaf. Clip a wooden clothespin securely to the end of the leaf stem. The clothespin gives you full control and keeps your hands well above the warm rim of the container.
Lower the leaf into the liquid wax in one smooth, steady motion. Submerge the leaf completely, right up to the base of the stem where it meets the leaf blade. You do not need to leave the leaf in the wax for a long time. A quick, two-second immersion is all it takes to coat both sides of the leaf completely.
Avoid the temptation to dip the leaf multiple times. A single, thin dip creates a crystal-clear satin membrane that highlights every tiny vein and color gradient. If you pull the leaf out and immediately dip it again, the second layer will turn cloudy, hide the natural colors, and make the leaf stiff and heavy. For the best autumn leaves for decor, remember that one fast, confident dip is always best.
Step 3: Drip Reduction and Centrifugal Shake
How you handle the leaf in the three seconds after dipping determines how smooth the final finish will be. If you pull the leaf straight out and lay it flat right away, excess liquid wax will run down to the leaf tip and form an awkward, thick white puddle.
As you lift the leaf out of the wax pot, hold it vertically directly over the opening of the container. Let the heavy excess wax drain back into the pot for about two seconds. Then, give your wrist a gentle, smooth tap against the rim of your pot, or give the stem a light downward shake. This quick motion throws off the final hanging droplet of wax from the bottom tip of the leaf.
Watch the surface of the leaf carefully during this step. Within four to five seconds of leaving the pot, the liquid wax will transform from a glossy wet sheen into a soft, satin finish. The moment you see that surface change start to happen, move the leaf immediately to your cooling area.
Step 4: Curing and Leveling on Parchment
Gently place the coated leaf flat onto your clean parchment paper or silicone baking mat. Be careful not to slide the leaf across the paper as you set it down, or you might scrape the soft wax before it cures.
Let the leaf rest undisturbed for at least two to three minutes. As the wax cools down to room temperature, it solidifies into a flexible, clear, water-resistant shield. After three minutes, unclip the wooden clothespin from the stem.
Pick up your finished leaf and hold it up toward the light. If you followed the steps correctly, the leaf should feel soft, flexible, and completely dry to the touch. The surface will have a warm, natural satin sheen without any thick white crust, and the colors will look just as rich and bright as they did out in the woods. Set the leaf aside on a clean tray, and repeat the process with the rest of your harvest. With a little practice, you can easily coat dozens of beautiful autumn leaves for decor in under an hour.
Interior Styling: Integrating Beeswax Leaves into Custom Home Decor
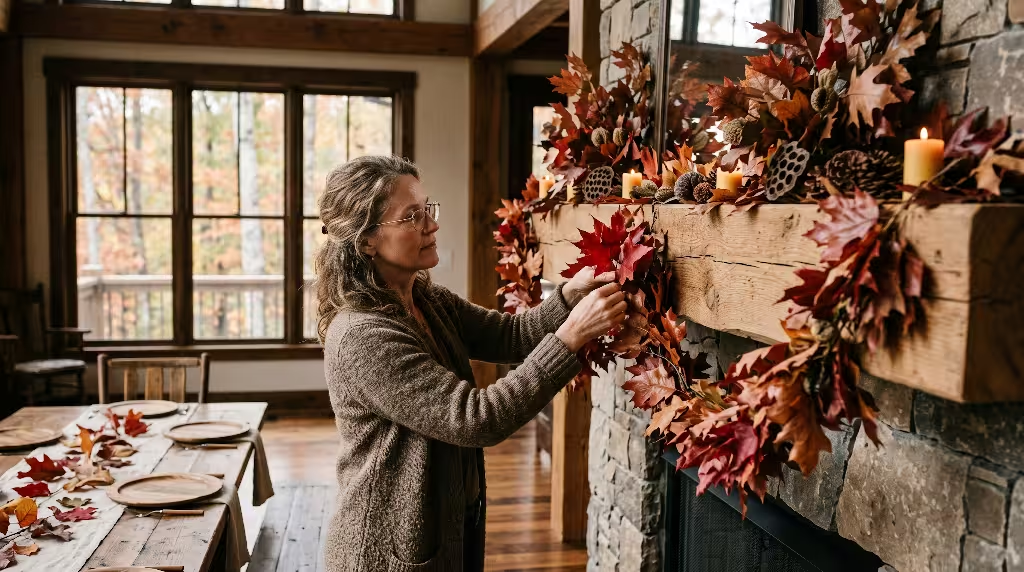
Once your collection of leaves is dipped and cured, the real fun begins. Seasonal decor should complement the architecture of your home, not clutter it. Preserved beeswax foliage has an organic elegance that pairs naturally with authentic home materials like hardwood, natural stone, wrought iron, and linen.
Here are four timeless ways to style your preserved leaves throughout your home:
Architectural Wall Hanging
An architectural wall hanging is a fantastic way to bring the feel of the outdoors into an entryway, dining room, or living room accent wall. This display works especially well against textured backgrounds like natural stone, painted shiplap, or neutral drywall.
To build this display, take a walk outdoors and find a sturdy, fallen hardwood branch that measures between two and three feet in length. Look for a branch with interesting texture, such as white birch, weathered oak, or lichen-draped cedar. Clean any loose dirt off the branch with a dry brush.
Tie several lengths of natural linen thread, cotton twine, or monofilament fishing line along the branch at irregular intervals. Using a small dot of craft glue or by tying small slipknots around the leaf stems, attach your preserved autumn leaves for decor along each hanging string. Vary the heights so the leaves appear to be floating gently down from the branch. Suspend the main branch from two small brass wall hooks. The gentle air currents in your room will cause the leaves to sway softly, creating a relaxing, natural focal point.
Mantel Swag and Garland
The fireplace mantel is the natural heart of a living room during the fall and winter months. A hand-tied botanical garland made with preserved leaves adds rich texture across a timber or stone mantelpiece.
To create a garland, start with a base of natural twisted jute rope or heavy cotton cord that matches the width of your fireplace mantel. Gather small clusters of three leaves each, combining different shapes and colors, such as a large red maple leaf paired with a golden sweetgum and a copper oak leaf. Bind the stems of each cluster together using thin green floral wire or brown paper-wrapped wire.
Working from one end of the rope to the other, wire the leaf clusters along the cord, overlapping each cluster slightly to hide the stems and wire beneath. You can weave in other dried natural elements like small pinecones, dried seed pods, or sprigs of dried native grasses. Drape the finished garland loosely across your mantel. Because your autumn leaves for decor are sealed in protective wax, they will not crumble or shed messy flakes onto your hearth throughout the season.
Dining Table Runner and Centerpieces
Your dining table is where family and friends gather to share meals and celebrate holidays. A low, organic centerpiece allows people to converse easily across the table without having to talk around tall, bulky artificial flower arrangements.
To style a natural table runner, lay down a foundation of natural washed linen or burlap down the center of your table. Arrange your preserved autumn leaves for decor along the runner in a loose, winding pattern, letting them spill naturally toward the edges of the table. Mix in small decorative gourds, raw unshelled nuts, and smooth river stones.
To complete the setting, tuck low glass votive holders or pure beeswax pillar candles among the leaves. The warm, flickering candlelight will reflect off the satin wax coating of the leaves, highlighting the intricate vein patterns and deep seasonal colors. Always make sure open candle flames are contained safely inside glass cylinders and kept at least several inches away from your dried foliage.
Translucent Window Mobiles
One of the most remarkable properties of beeswax-preserved foliage is its translucence. Natural sunlight passing through a waxed leaf brings out hidden cellular details and luminous colors that you simply cannot see when the leaf is lying flat on a table.
To create a window mobile, use clear monofilament thread to hang individual leaves directly in front of a south-facing or west-facing window. You can tie the threads to a tension rod mounted inside the window frame, or attach them to the top casing using small, removable adhesive hooks.
When the afternoon sun shines through your window, your autumn leaves for decor will light up like colorful stained glass. They will cast warm amber and crimson shadows across your floors and walls, changing in tone as the sun moves across the sky. This display is especially lovely in breakfast nooks, kitchen casement windows, and sunrooms.
Architectural Protection and Placement Guidelines
How you display natural decor inside your home matters just as much as how it looks. Even though beeswax is a durable, natural preservative, you need to follow a few simple building science principles to protect both your decor and your home finishes.
Managing Heat Sources
The most important rule when displaying waxed foliage is to keep it away from direct heat sources. Remember that beeswax begins to soften around 130 degrees Fahrenheit and melts completely around 145 degrees Fahrenheit.
Never place your preserved autumn leaves for decor directly over an active furnace floor register, in front of a high-output baseboard heater, or directly beneath a forced-air supply vent. The constant stream of hot, dry air from your heating system can cause the wax coating to soften, become tacky, and collect floating household dust.
Similarly, if you display leaves on a fireplace mantel, only use them if your fireplace has a properly functioning mantel deflector shield that prevents the mantel shelf from getting hot during fires. If your mantel shelf feels hot to the touch when the fireplace is burning, move your leaf garland to an interior wall or dining table instead.
Managing Sunlight and Ultraviolet Exposure
While displaying your leaves in soft, natural light creates a breathtaking look, you should avoid hanging them in windows that receive harsh, unfiltered ultraviolet (UV) sunlight all day long. Direct UV radiation degrades plant pigments over time, causing even well-preserved reds and purples to fade into lighter amber tones after several weeks.
If your home has modern Low-E (low-emissivity) window glass, your windows already filter out a large percentage of harmful UV rays, which helps preserve botanical colors much longer. If your home has older, single-pane glass, hang your autumn leaves for decor in windows that receive indirect morning light or soft northern exposure to keep the colors rich and vibrant.
Preserving Wall Paint and Wood Finishes
Beeswax contains natural oils that can occasionally transfer onto porous interior surfaces if pressed firmly against them for long periods. If you hang waxed leaves directly against a wall finished with flat or matte latex paint, the wax may leave a faint, dark oil spot on the drywall.
To protect your walls, make sure hanging displays like garlands or branch mobiles hang slightly away from the wall surface. When creating a leaf wall hanging, use small felt bumper pads on the back of your main branch to hold the display half an inch away from the drywall. This small gap allows air to circulate freely and ensures that your autumn leaves for decor do not leave any marks on your interior paint finishes.
Lifespan Expectations and Maintenance
How Long Wax-Preserved Foliage Lasts
One of the most common questions homeowners ask is how long they can expect their preserved leaves to look good. When properly harvested, fully dried, and dipped in tempered beeswax, your foliage will easily maintain its rich coloration, structural shape, and flexible texture for six to twelve months indoors.
Over time, you may notice the bright scarlet reds and sunny oranges slowly soften into warm antique coppers, deep ambers, and rich leathery browns. This gentle color shift is a completely natural aging process that many people find just as beautiful as the initial bright fall colors. Unlike untreated dried leaves that shatter at the slightest bump, your beeswax-coated leaves will remain pliable and intact throughout the entire fall and winter holiday season.
Cleaning and Refreshing Your Displays
Because beeswax has a naturally smooth, anti-static surface, it does not attract dust as aggressively as plastic or fabric craft greenery. However, over several months in a busy home, a fine layer of household dust may settle on the top surfaces of your leaves.
To clean your preserved autumn leaves for decor, use a soft, dry makeup brush, a clean camel-hair artist brush, or a soft feather duster. Gently sweep the brush across the leaf from the stem down toward the tip, following the direction of the natural veins. Never wipe waxed leaves with a wet cloth, damp sponge, or chemical cleaning spray, as water can leave cloudy mineral spots on the wax finish.
If a leaf accidentally gets scuffed or develops a dull white scratch, you can easily repair the wax coating without re-dipping the entire leaf. Hold a household hair dryer set on low heat about eight inches away from the leaf surface for three to four seconds. As the warm air gently warms the wax, the surface will melt just enough to smooth out the scratch and restore its original satin shine.
Off-Season Storage Strategy
If you want to save your botanical creations to enjoy again next autumn, proper storage during the warm spring and summer months is essential. In the South, our summer heat and high humidity can quickly ruin delicate craft projects if they are stored in the wrong place.
The Storage Packing Process
Never toss your preserved autumn leaves for decor loosely into a cardboard box or plastic trash bag where they can get crushed, bent, or scratched. Follow this simple packing method to keep them safe:
- Obtain a shallow, rigid plastic storage tote with a tight-fitting lid. A flat under-bed storage container works wonderfully for this purpose.
- Line the bottom of the container with a clean, flat sheet of parchment paper or plain brown craft paper.
- Lay your preserved leaves out in a single layer across the paper, making sure the edges do not overlap or fold over.
- Place another sheet of parchment paper over the leaves, and add another single layer of foliage on top.
- Continue layering paper and leaves until your container is comfortably filled, making sure not to pack the layers down tightly.
- Place the lid securely on the container to seal out humidity, dust, and insects.
Choosing the Right Storage Environment
Where you store your sealed container in your home makes all the difference. As a home builder, I always warn homeowners never to store delicate items, candles, or wax crafts in an unconditioned attic, detached garage, or outdoor tool shed. During July and August in East Tennessee, temperatures inside an unventilated attic can easily climb above 130 degrees Fahrenheit. That level of heat will melt the beeswax, fusing all your carefully preserved leaves into a single solid block of wax and paper.
Always store your container in a climate-controlled area of your main house. The floor of a guest bedroom closet, the space under a primary bed, or a shelf in a climate-controlled basement or linen closet provides the stable temperature and low humidity needed to keep your autumn leaves for decor fresh and ready to bring out again next October.
Compostability and Environmental Benefits
In an era where our landfills are flooded with cheap, throwaway plastic seasonal items, choosing all-natural home decor is a meaningful way to practice environmental stewardship. Most store-bought fall garlands, wreaths, and floral picks are manufactured overseas from non-recyclable petroleum plastics, synthetic glues, and toxic dyes. When those cheap decorations break or look worn out after a season or two, they end up in municipal landfills where they sit for centuries, eventually breaking down into harmful microplastics.
Preserving natural autumn leaves for decor with 100% pure beeswax represents the gold standard of circular, zero-waste living:
- Zero Microplastics: You are using real fallen leaves harvested directly from your local landscape and natural wax produced by honeybees. There are zero synthetic polymers, artificial colorants, or petroleum distillates involved.
- Completely Biodegradable: When you eventually decide that your preserved leaves have reached the end of their decorative life, you do not have to throw them into the trash can. Both pure beeswax and natural leaf tissue are one hundred percent organic and biodegradable.
- Backyard Compost Safe: You can simply chop up the old leaves with your garden shears and toss them directly into your backyard compost pile or vegetable garden mulch. Soil microbes, earthworms, and fungi will naturally break down the wax esters and leaf fibers, returning valuable organic carbon and nutrients back into your home soil.
By choosing natural preservation, you get to enjoy a gorgeous, warm home filled with seasonal character while knowing that your decor choices are completely safe for your indoor air quality, your family, and the natural world outside your front door.
Frequently Asked Questions About Preserving Autumn Leaves for Decor
How long do leaves preserved in beeswax last?
When kept indoors away from high heat and direct sunlight, leaves preserved in pure beeswax typically last for six to twelve months while maintaining good flexibility and color. Many homeowners use them throughout the entire fall season from September through Thanksgiving, and some keep them on display through the winter holidays. Over several years, the leaves will slowly darken into warm leather and copper tones, but they will not crumble like raw foliage.
Do you need to press leaves before dipping them in beeswax?
You do not strictly have to press your leaves if they are already naturally flat and supple when you gather them. However, giving your harvested leaves a brief twelve-hour press between sheets of parchment paper under a few heavy books helps smooth out wavy edges and mild curling. Flattening the leaves slightly makes the dipping process much easier and ensures that the melted wax coats both sides of the leaf in an even, smooth layer without pooling in deep surface wrinkles.
Can I use paraffin or soy wax instead of beeswax?
While you technically can use paraffin or soy wax, beeswax produces vastly superior results. Paraffin wax is a brittle petroleum product that cracks easily whenever the leaf flexes, leaving ugly white fracture lines across the surface. Soy wax is too soft and oily, meaning it rubs off easily and leaves a dull, greasy film rather than a clear satin seal. Pure beeswax remains flexible, creates a clean protective barrier, smells naturally like honey, and keeps your autumn leaves for decor supple and vibrant for months.
Why do my preserved leaves turn brown after dipping?
If your leaves turn brown or olive green immediately after you dip them, your wax was almost certainly too hot. Beeswax should be kept between 150 degrees and 165 degrees Fahrenheit. If the temperature climbs above 175 degrees Fahrenheit, the excess heat cooks the delicate plant cells and destroys the red and orange pigments. Another common reason is harvesting leaves that had already begun decomposing on the damp ground. Always gather fresh, supple leaves and use a digital thermometer to monitor your wax temperature.
How do you clean up beeswax after completing the project?
Never pour liquid beeswax down your kitchen sink or plumbing drains, as the wax will quickly solidify inside your cold pipes and cause a severe, expensive plumbing blockage. To clean up safely, pour any remaining liquid wax out of your melting pitcher into a silicone muffin cup or mold, let it harden, and save it for your next craft project. While your melting pot is still warm, wipe out the interior using thick paper towels to remove the remaining wax residue. You can then clean off any remaining thin film using hot water, dish soap, and a scrub sponge dedicated to craft cleanup.
Bringing Appalachian Craft into the Modern Home
Designing a home that feels warm, welcoming, and deeply personal does not require spending hundreds of dollars on artificial store displays. In our corner of East Tennessee, nature provides us with the most magnificent seasonal palette imaginable every single autumn. All it takes is a little time, an appreciation for natural materials, and the right craft techniques to bring that outdoor majesty into our living spaces.
Taking an afternoon to walk through the woods, gather fresh foliage, and gently seal each piece in warm, fragrant beeswax connects you to the natural rhythms of the season. The process teaches patience, rewards precision, and yields gorgeous results that elevate the interior of any home.
Whether you choose to drape a full garland across a stone fireplace mantel, suspend a delicate leaf mobile in your sunny kitchen window, or scatter warm foliage down the center of your family dining table, these natural touches bring life and character to your rooms. Preserving real autumn leaves for decor allows you to celebrate authentic craftsmanship, honor the natural world, and create a peaceful, beautiful environment where your family loves to gather.